Hey again! First, I want to say, I hope you like pictures, because this blog post has loads of them! I’m super excited to share how to transform your bathroom with wallpaper! We went about this process in a unique way and achieved it through a partnership with Arhaus. I’m happy to share their beautiful line of wallpaper! They have so much to choose from and the quality is outstanding!
Please note: All opinions stated are my own and my experience with the brand and its products.
Let’s go back to when and where it all started… November 2018 was the beginning of the biggest transformation in Our Vintage Nest history! Wait… Did I just sound like Chris Harrison? Mmmm, maybe. But seriously, I don’t think I’ve ever been more excited about a project! I’ve always dreamed of patterned wallpaper, fancy mirrors and wall sconces on either side. What am I describing? If you guessed our master bathroom, you’d be correct! :)
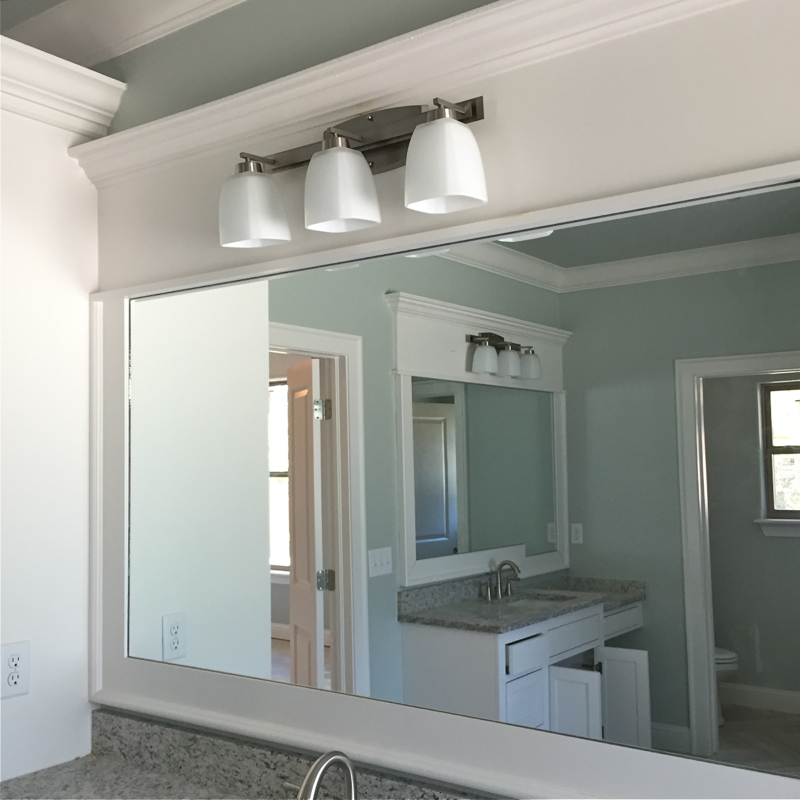
I’ll start with a before of when we built over two years ago. We weren’t entirely sure, nor did we have the time to customize our bathroom. We moved forward with the standard design elements offered by the builder… Framed builder grade mirrors with 3-light vanity fixtures.
We were pleased with the style, it was functional, stylish and nicer than our last bathroom. Still, I always envisioned a fancy master bathroom, like the one I described above. Prior to my partnership with Arhaus, I had already begun tearing out the mirrors, because when this girl gets an idea, she runs with it! With a lot of projects around here, I jumped the gun when I realized I didn’t have a plan for hiding all the drywall damage. Enter my wallpaper idea!
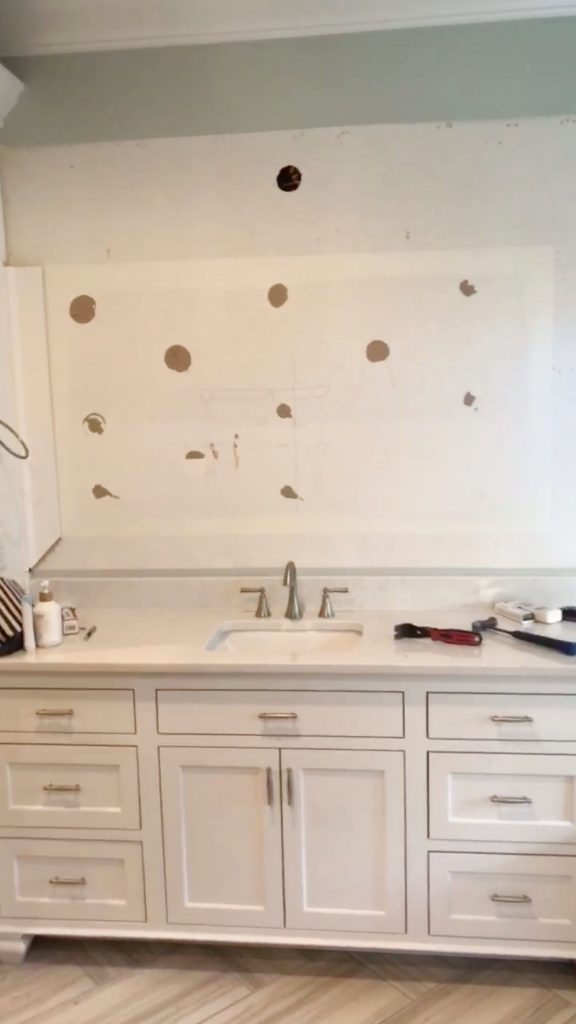
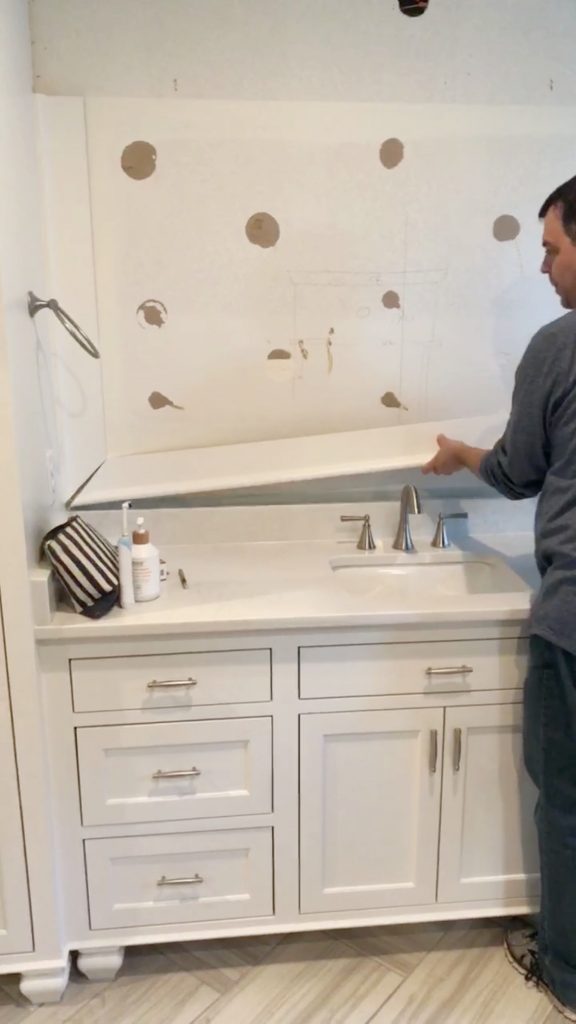
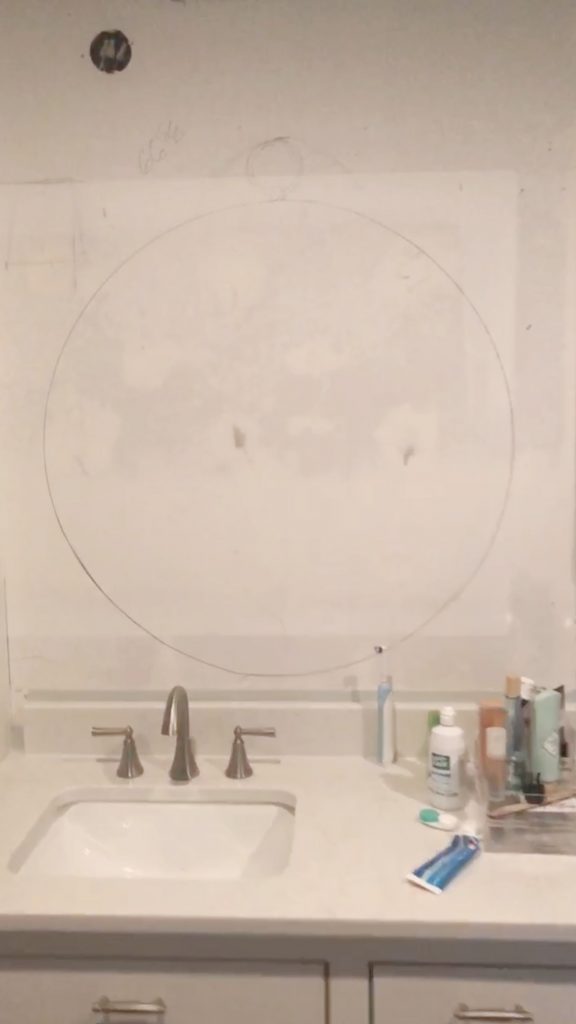
This is after mirrors and trim were removed. Please forgive the photo quality of these next few pictures. They were taken quickly and with little lighting due to the old lighting being removed.
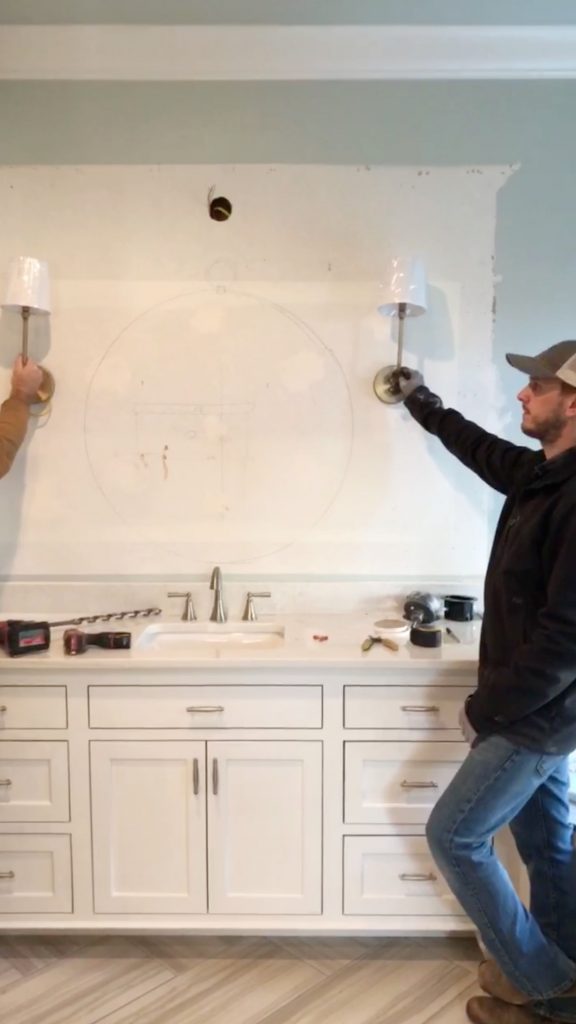
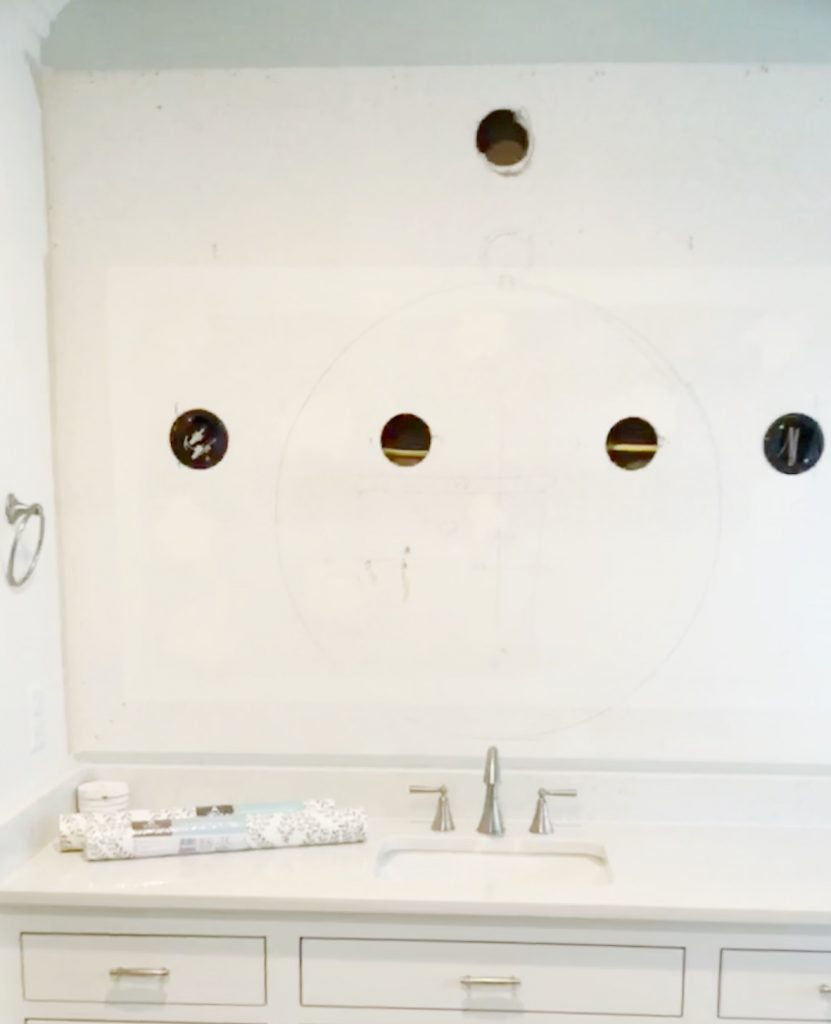
Side note: Any time you’re relocating lighting, make sure you re-wire first before doing other steps in your project. In this case, it’s important not to hang anything until after wallpaper is installed. That’s why you’ll see a faint outline of our mirrors traced on the wall to help with lighting placement. You want to make the process as easy as possible for the installer and the electricians don’t want to be responsible for tearing up wallpaper. When it came time for wiring, the electricians helped me with lighting placement. These steps were incredibly helpful and I’m thankful we thought of them to avoid problems later. It’s true what they say…Team work makes the dream work!
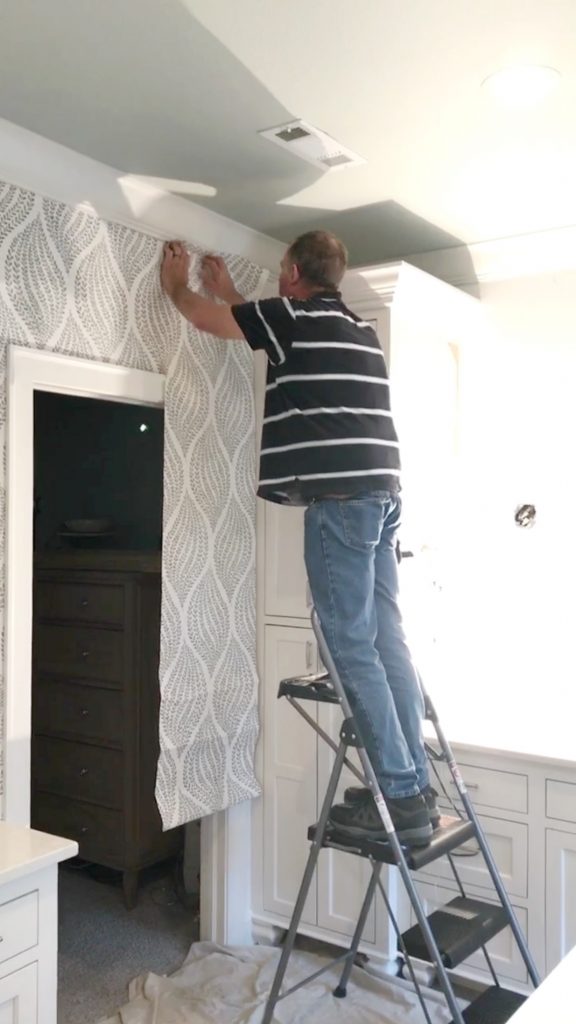
Once new lighting was wired, the wallpaper pro could come in to do his prep work. We kept all the drywall circles (left corner of picture) to help patch the walls from existing lights.
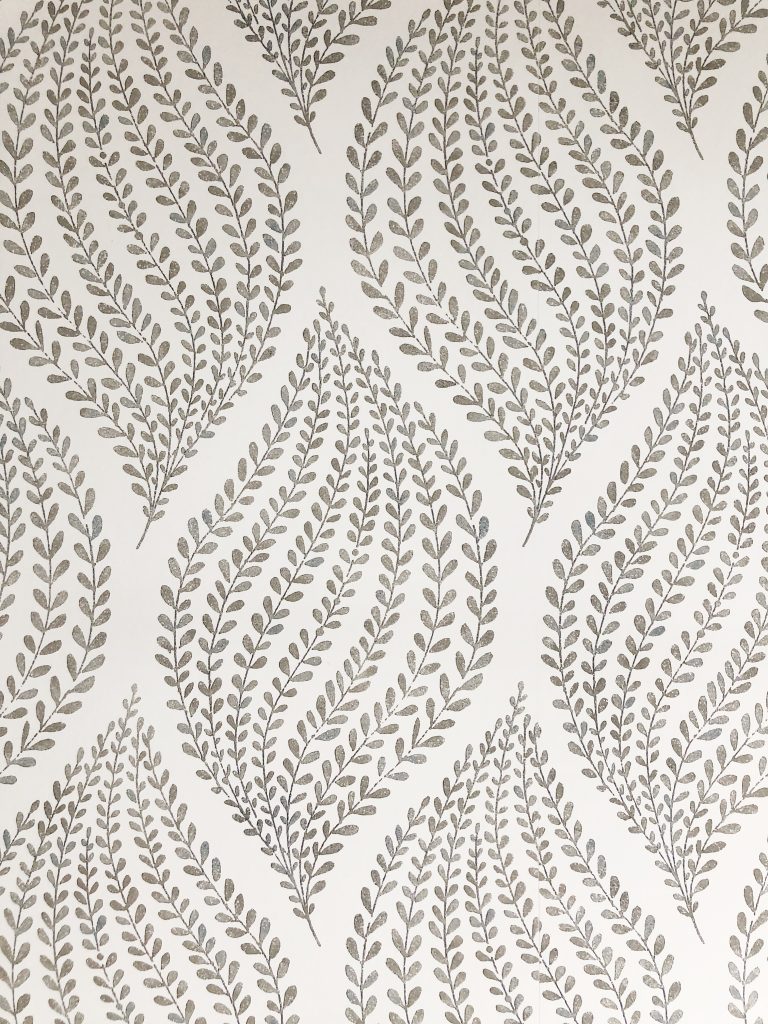
My light bulb moment to add wallpaper was the perfect solution for hiding the mess we created. Thus, my vision for a dreamy bathroom was born. I began scouring the huge selection of wallpapers offered by Arhaus and immediately fell for this one… Breezy Blossoms.
I knew I wanted to create accent walls in our bathroom and the two walls above our vanities were perfect. Mirrors and lights were next on the list, so we hit the pause button and began the search. I took some measurements and knew right away that we needed a specific width to accommodate the wall sconces. I couldn’t hang anything wider than 35 inches to make room for the lights. This was only the case for my side of the bathroom. Earlier in the year, we had updated the other side with added cabinetry and altered the space, making the wall more narrow. In order to use the same mirror, we had to get creative with the lights.
Let’s fast forward to when everything was ready for wallpaper. After researching how to install, I quickly realized I did not want to tackle this, let alone in a bathroom. I made some local calls, got some quotes and hired a professional to do the job.
Here’s what I learned from him and why I’m so glad I let him handle this part of the remodel!
First step in preparing your walls for wallpaper:
- Mudding – This technique, consisting of a powdered substance mixed with water to help knock down wall texture. Whether you have orange peel or other, it’s the longest and most important step in preparing your walls. In my case, the process had to be done twice. It takes 24-48 hours to dry between coats. Once dry, a wet sander is used to smooth out the surface and apply the second coat. Another 24-48 hours of drying and a final wet sanding for smooth walls.
- Primer – A thin coat of primer is applied to all the smooth surfaces, this aids in the wallpapering process. The primer dries for 24 hours and the walls are then ready for paper.
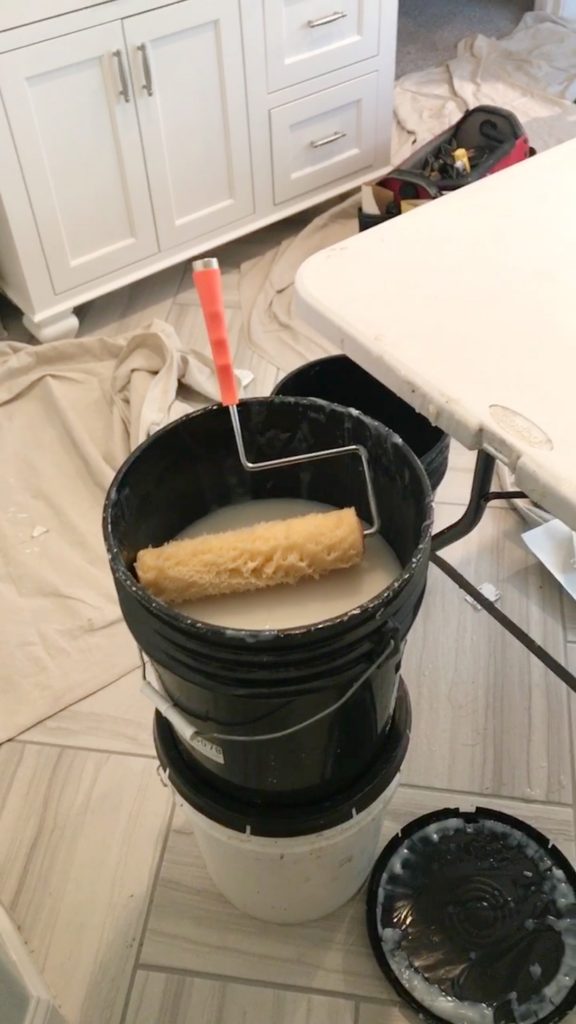
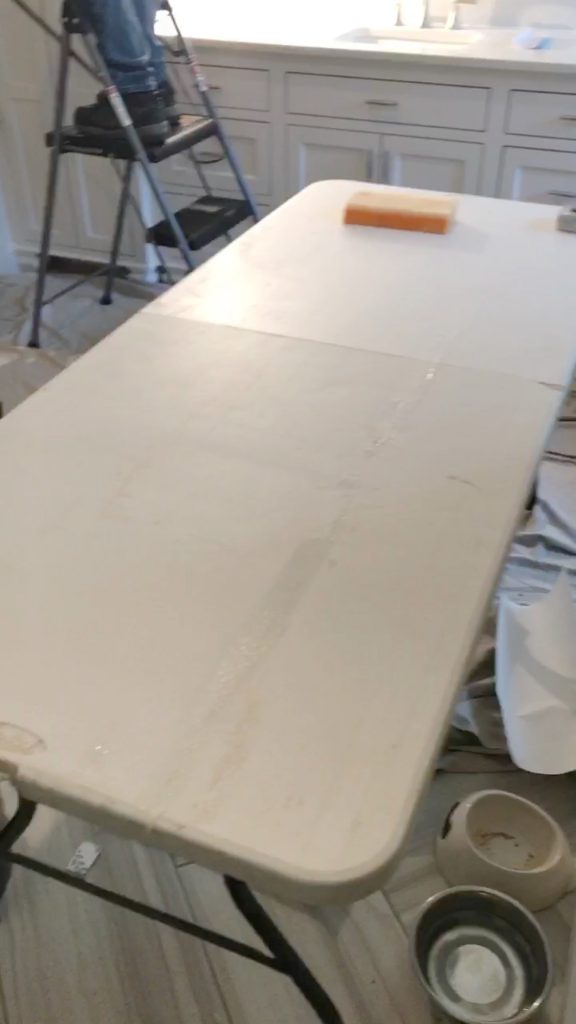
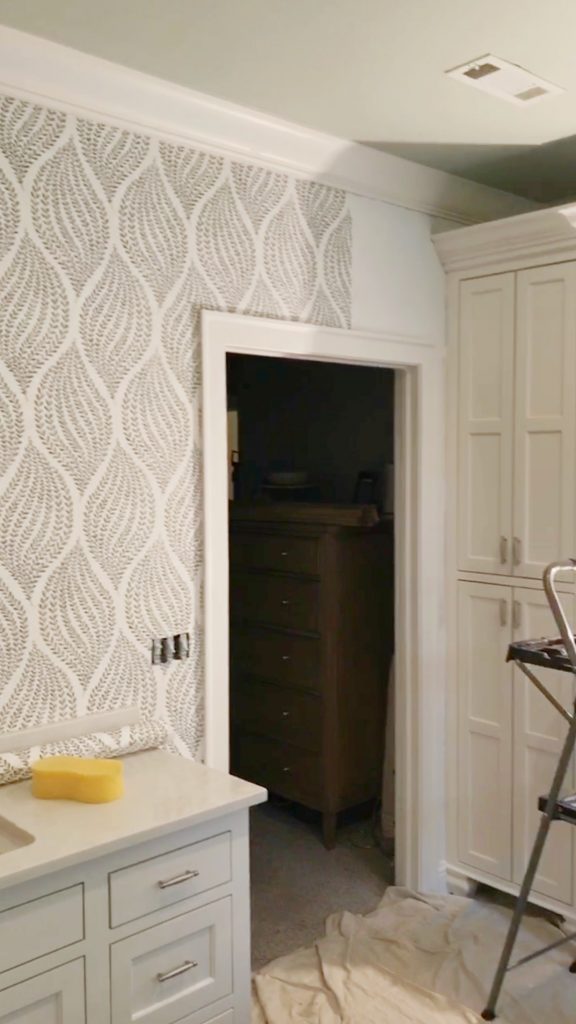
I don’t believe everyone will have to follow these steps. My walls were pretty textured, so this was necessary in my case. Since I hired a professional for this job, I’m not clear on the details of how to wallpaper. I do know that you must account for repeating patterns and have extra on hand for narrow walls and small spaces. We measured everything beforehand and order extra. With little lighting in the room, these next few photos are not the best quality. I wanted to respect his work space, so I didn’t document this part thoroughly. Here are a few pictures of the process…
As you can tell from the pictures, he used a large bucket for his wallpaper paste, a roller and a long portable table. The room was closed off during the mudding process and I didn’t wanted to bother him too much while he was working. These are the only photos I have of him at work. He has over 20 years experience and I couldn’t believe his attention to detail! So glad I spared myself the headache of this part of the renovation. Now, that’s not to say I wouldn’t attempt wallpaper on my own, but for a bathroom, I wanted to make sure it was done right!
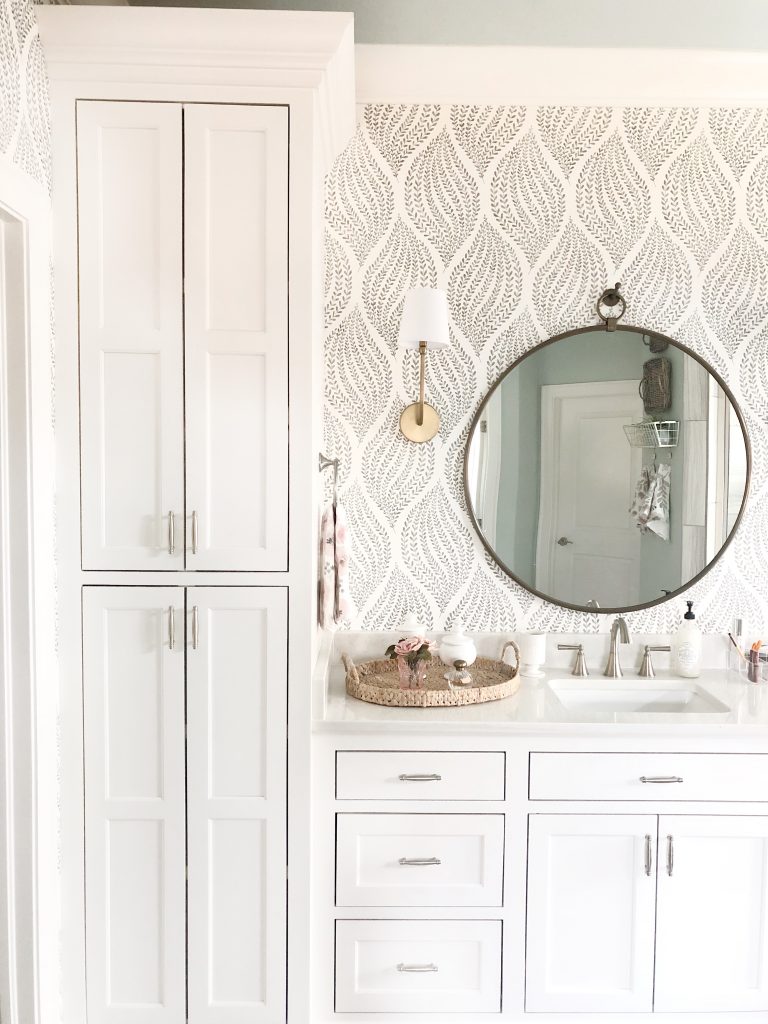
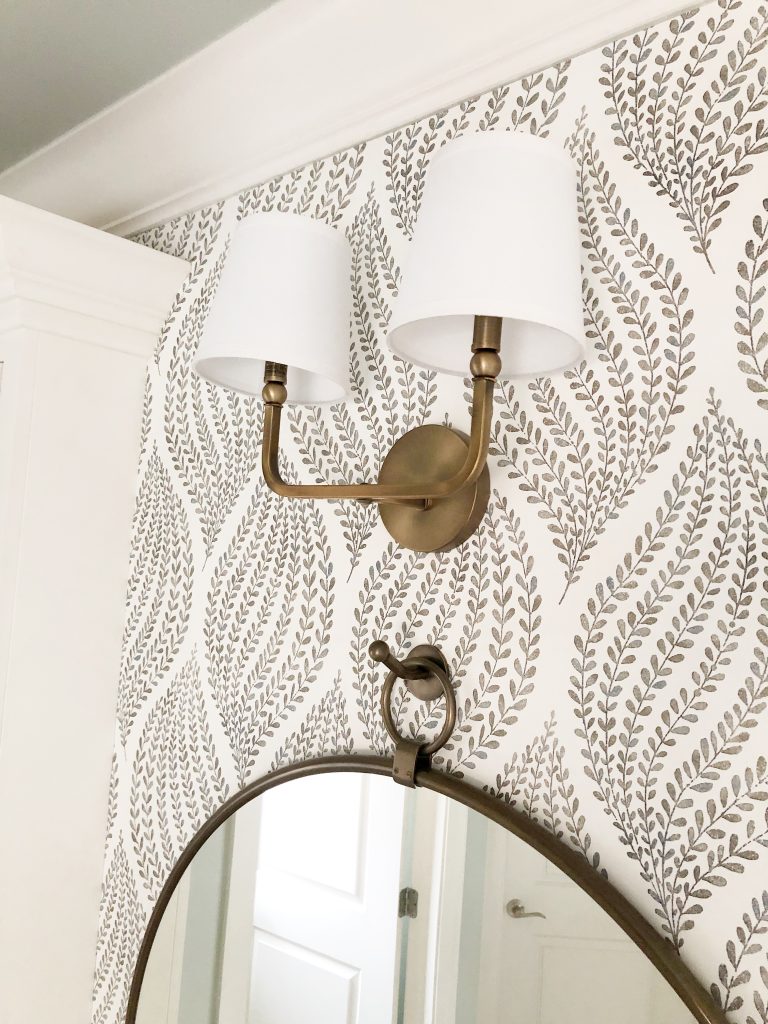
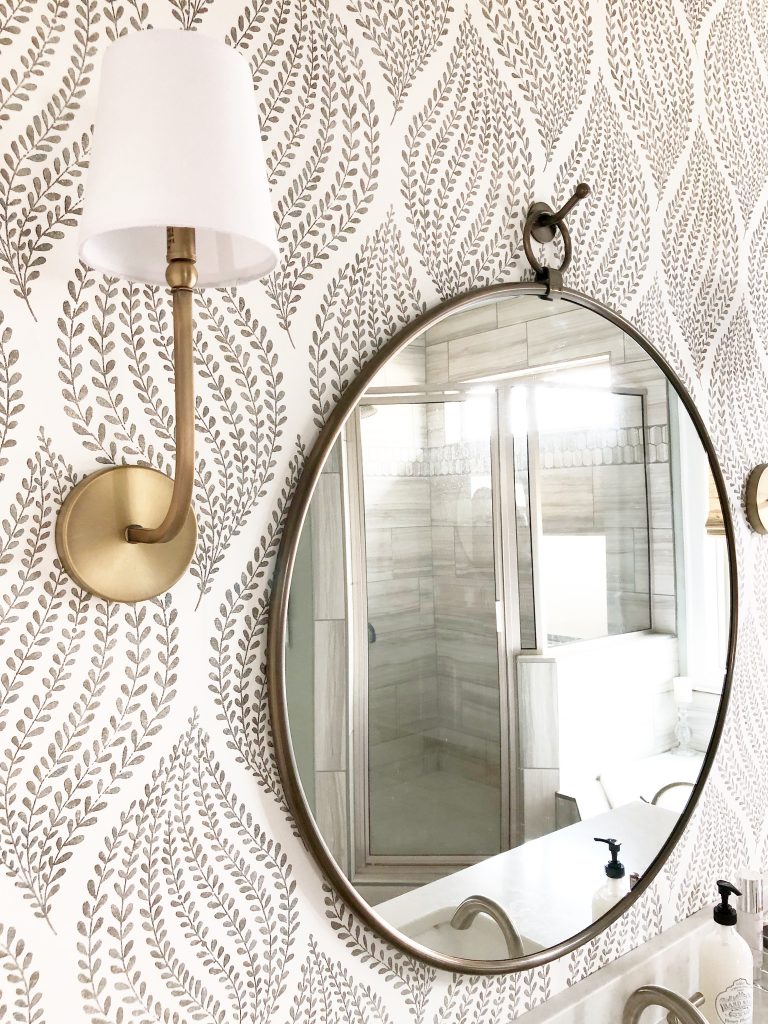
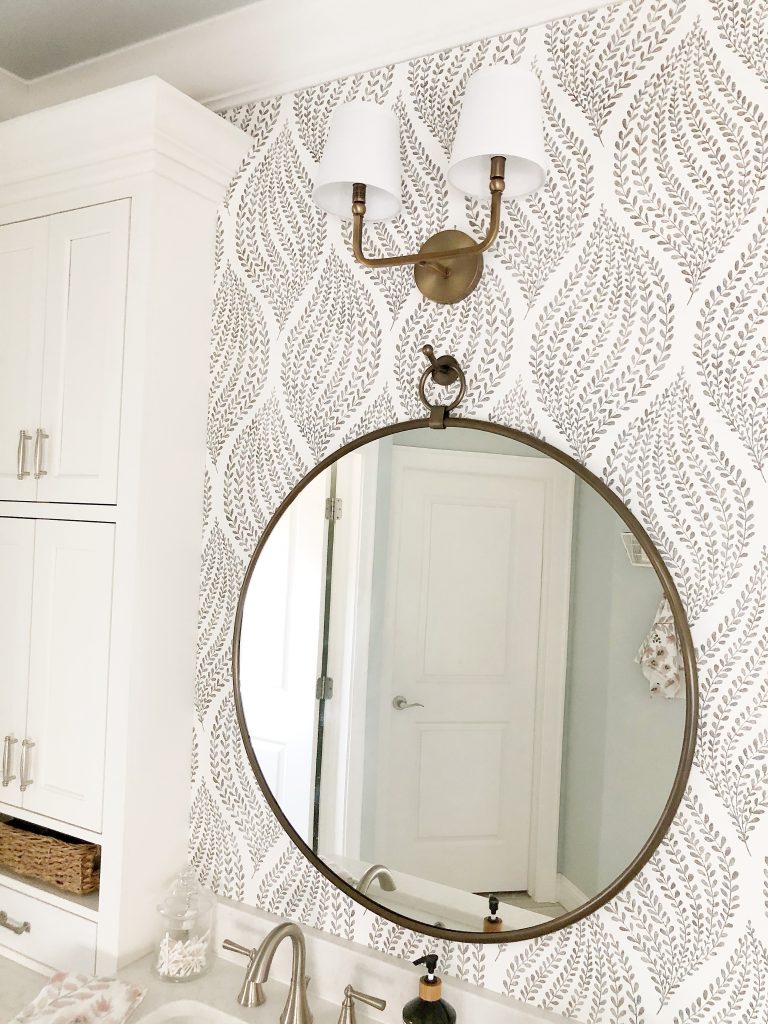
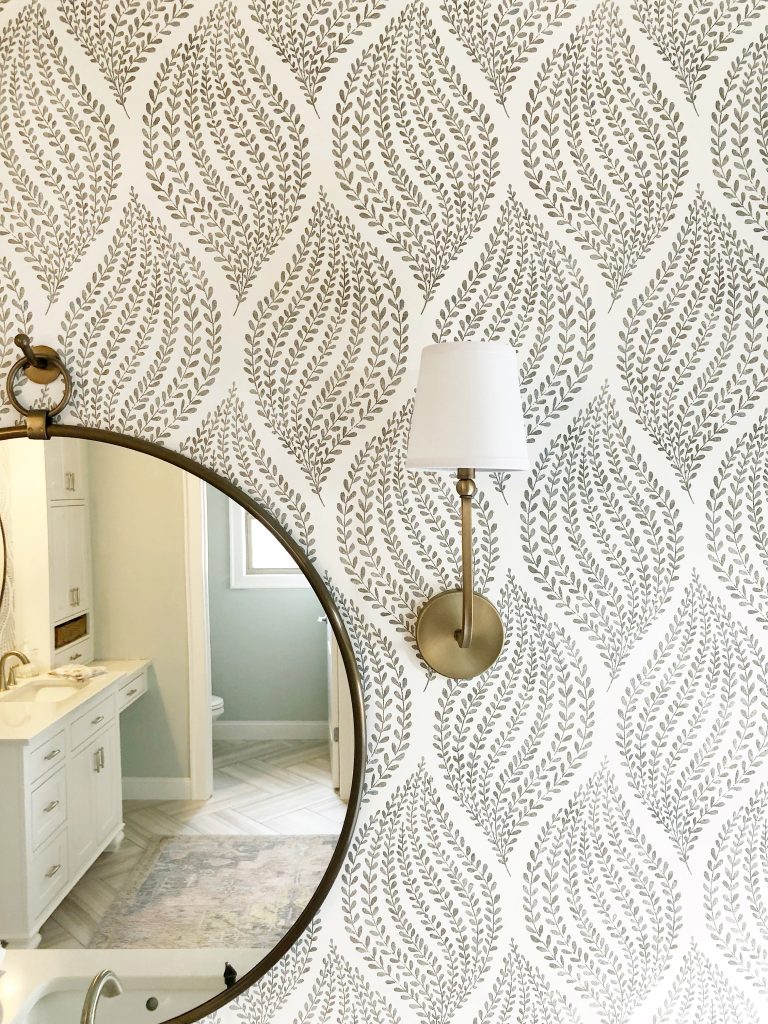
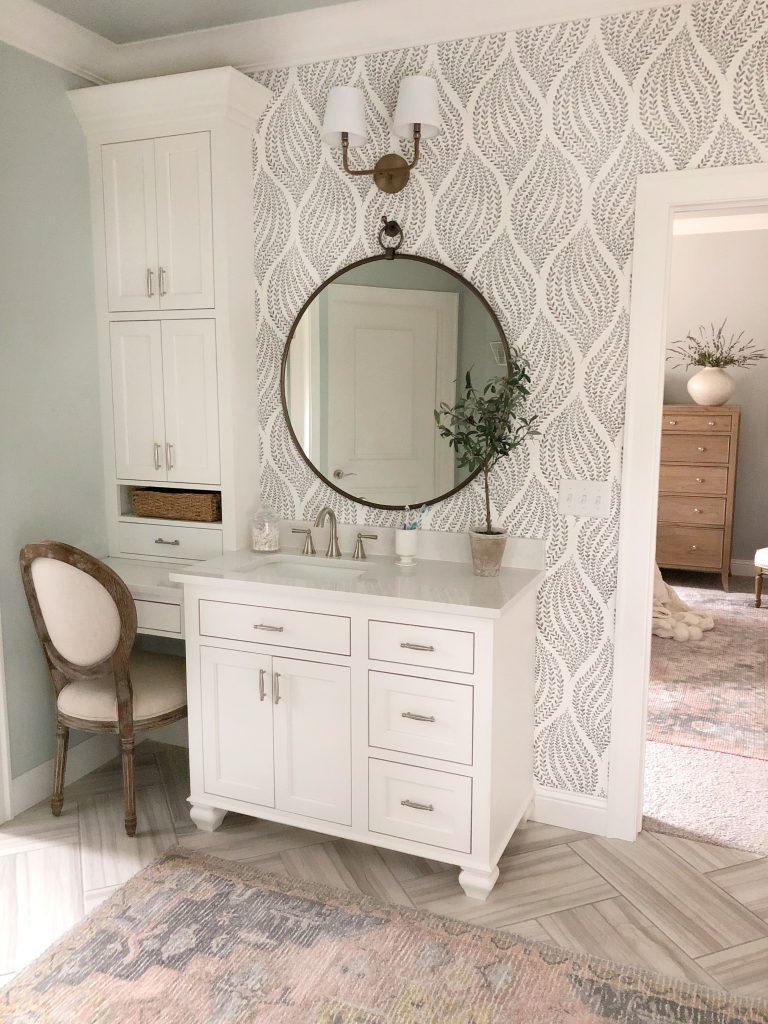
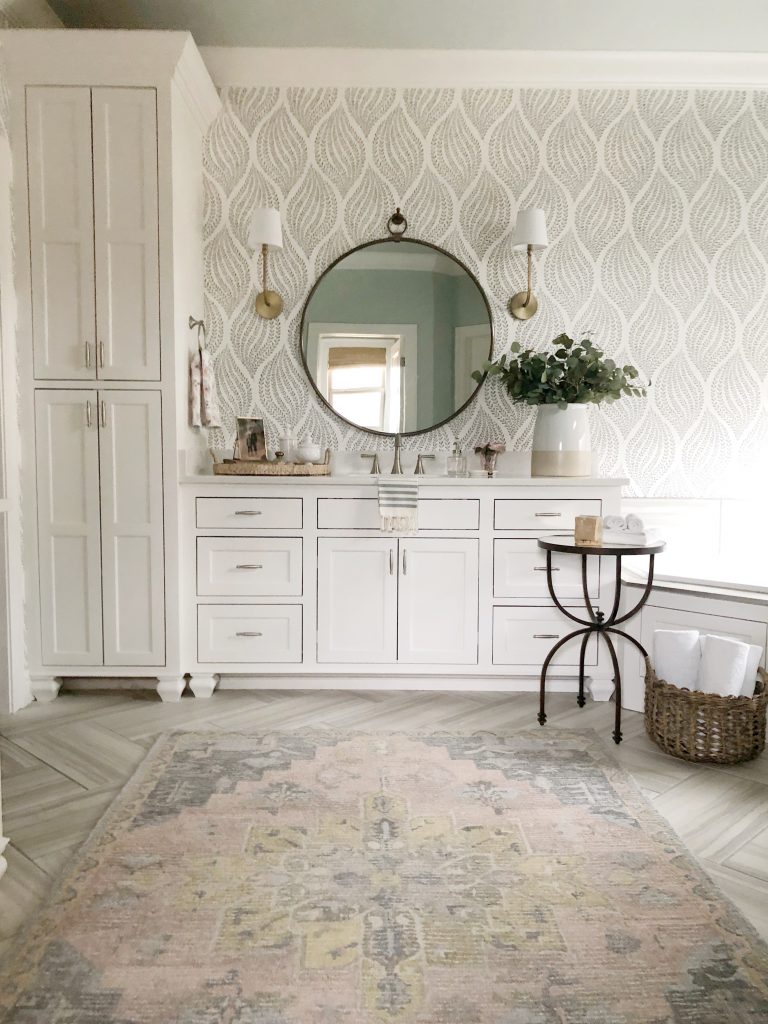
Let’s move to the after and talk about the mirrors and lighting and see it all come together! The gorgeous round mirrors I chose are from Arhaus too! They are the Thomas Brass Round Mirror and they could not be a more perfect size for this space! Measuring at just under 35 inches round, they are hung by a brass hook that comes with the mirror. Here’s a few close-ups:
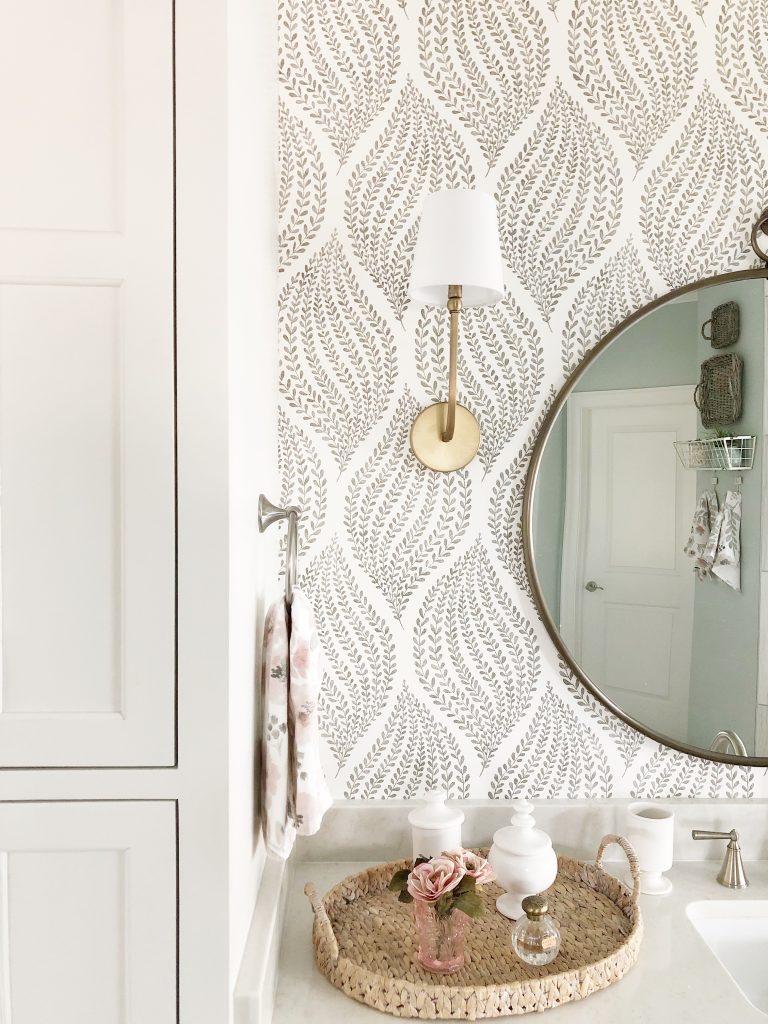
I couldn’t be happier with how our master bathroom turned out! This is the time for sharing all those pictures I mentioned earlier…
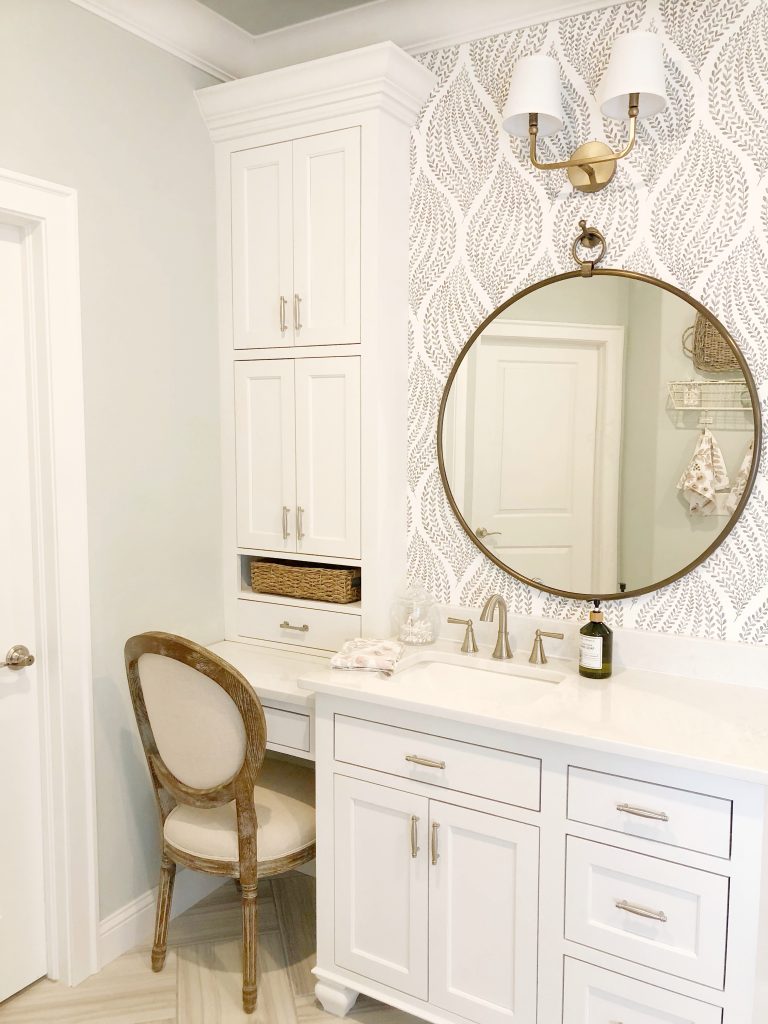
Here’s that corner of the bathroom where we added an 8″ deep cabinet to make this area more functional. That’s why the lighting had to be different for this side due to a more narrow wall.
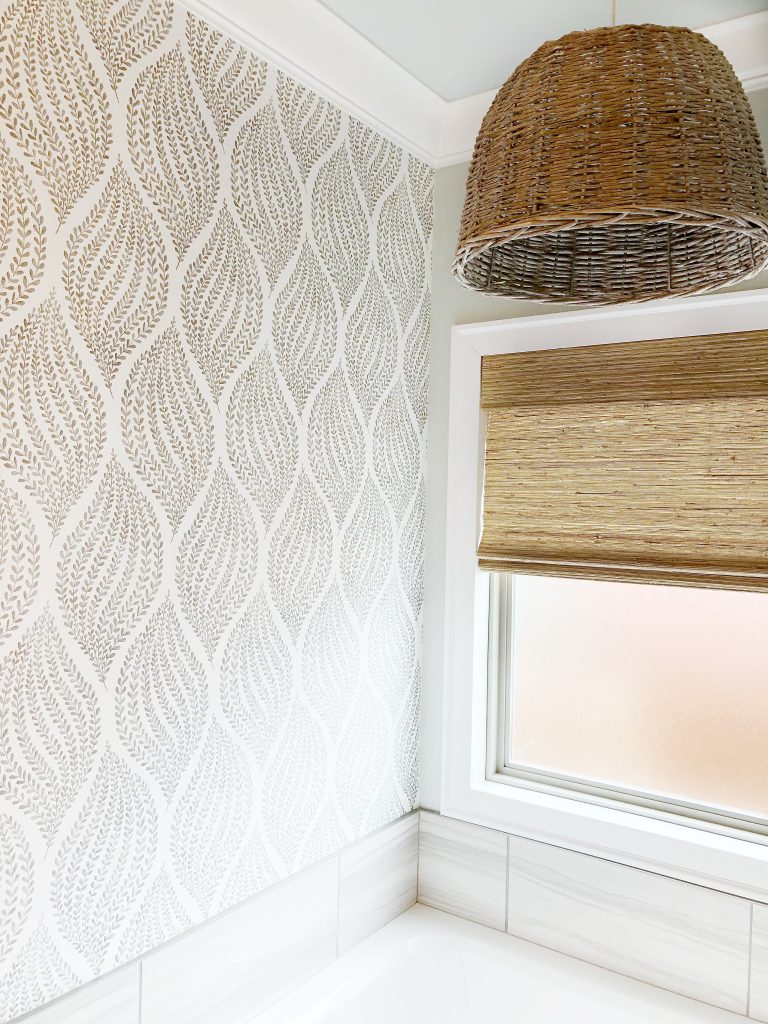
We stopped the wallpaper in the corner by the window and tub area. We had the windows framed out over the summer, added a woven shade for texture and a basket light above the tub.
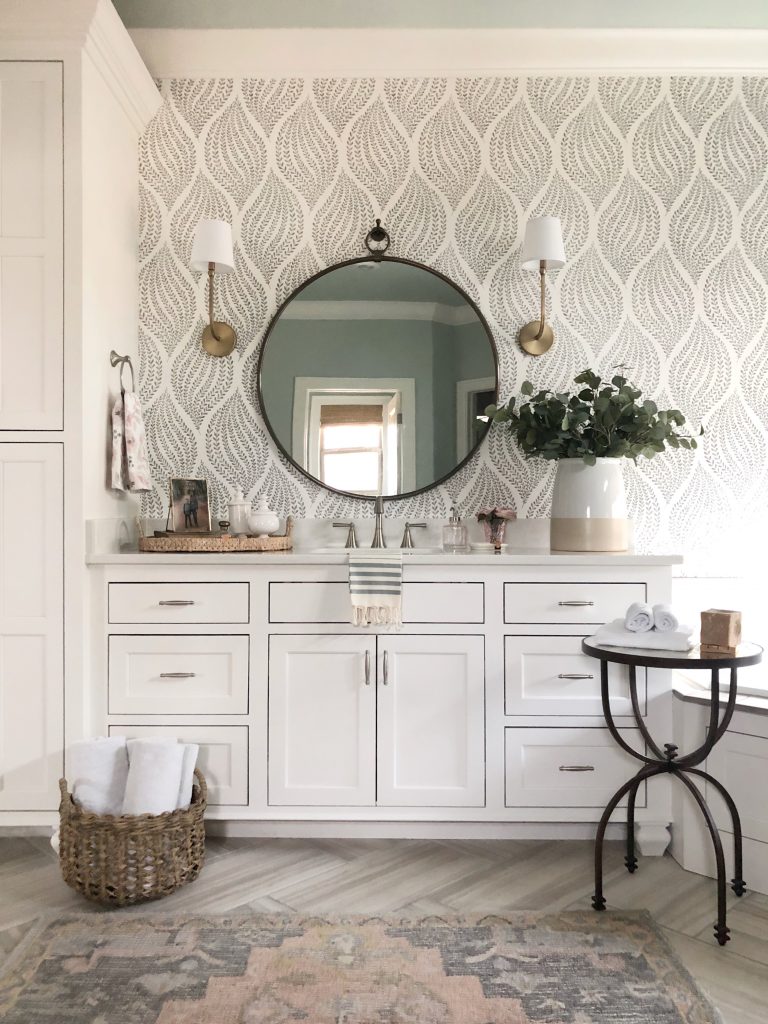
Here’s an overall view of our updated master bathroom! We are in love and it’s exactly what I envisioned!
Thank you to Arhaus for this partnership, it was such a great experience and I learned so much during the process! I hope this gives you the inspiration you need and teaches you how to transform your bathroom with wallpaper!
Blessings,
It turned out beautiful! Amazing job!
Thanks, Kim! Kind of you to visit and read more about it!
What is the paint color of your other bathroom walls? Thanks!
Hi Sarah… All my paint colors are shared in my September 2016 post. Also, can be found by searching paint colors and a swipe link to my blog post is on my IG feed @ourvintagenest
Can you share your source for the wallpaper please? Looks so lovely :)
Hi Kim! Thanks for your interest! You’ll find all the source details on this blog post, ‘How To Transform Your Bathroom With Wallpaper’ Hope that helps!
I am not seeing where you purchased your mirror. I need that mirror! Thanks!
Hi… I believe it’s sourced within the blog post. If not, please check my Instagram account @ourvintagenest – Thanks for your interest!