Hi friends! It’s been a fun week of projects and I’ve loved watching the transformation of each space take on a new look. Today, I’m going to share how to create an accent wall using white washed boards. I used Weaber Lumber wall boards; they come in a box of 8, each 48″ long and cover 10.5 square feet. For this project, I used their white washed boards; they are beautiful with their subtle gray and white tones. The knots in the wood are my favorite, they add so much texture and character. They have not yet been released to the public, but I have been told they will be available very soon! Their weathered wall boards (4 color stains, 2 of each in a box) can be found at Home Depot; they are what I used to create my sons herringbone headboard.
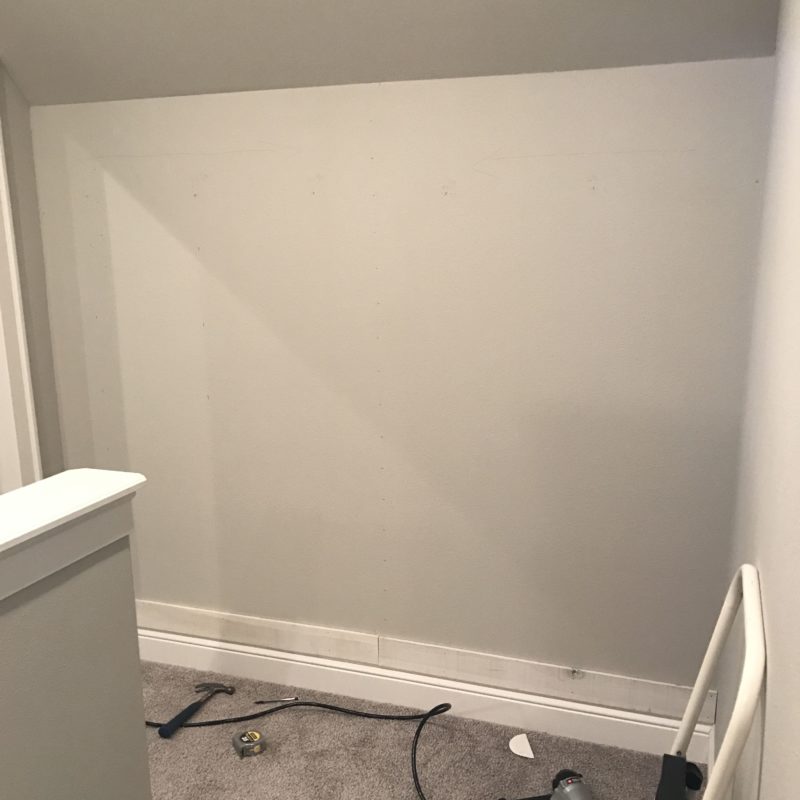
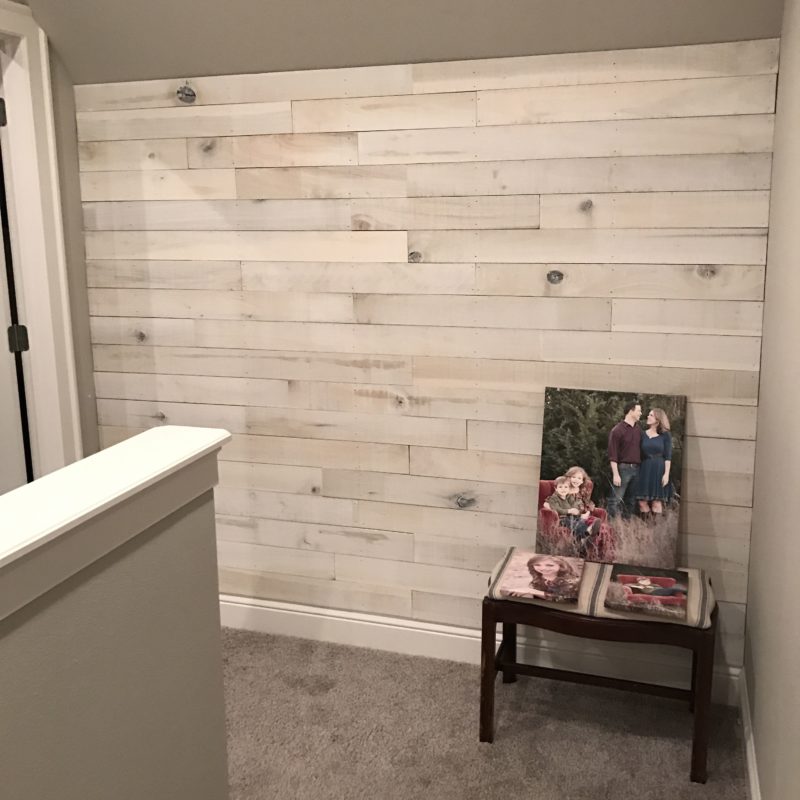
Here is the wall before I added the wall boards. The wall and ceiling color is Agreeable Gray by Sherwin Williams. This is our upstairs hallway and is the perfect wall for this project, as this area lacked character. I love that from the base of our stairs, you can see the wall boards and charm that they provide. I’ll share that view towards the end of this post.
I needed about 6 boxes of white washed boards to cover this wall.
Here’s a list of the tools we used for this project:
- Pencil (to mark your studs)
- Stud finder
- Level
- Safety googles
- Compound miter saw
- Circular saw
- Nail gun
- Air compressor
- 2-inch nails
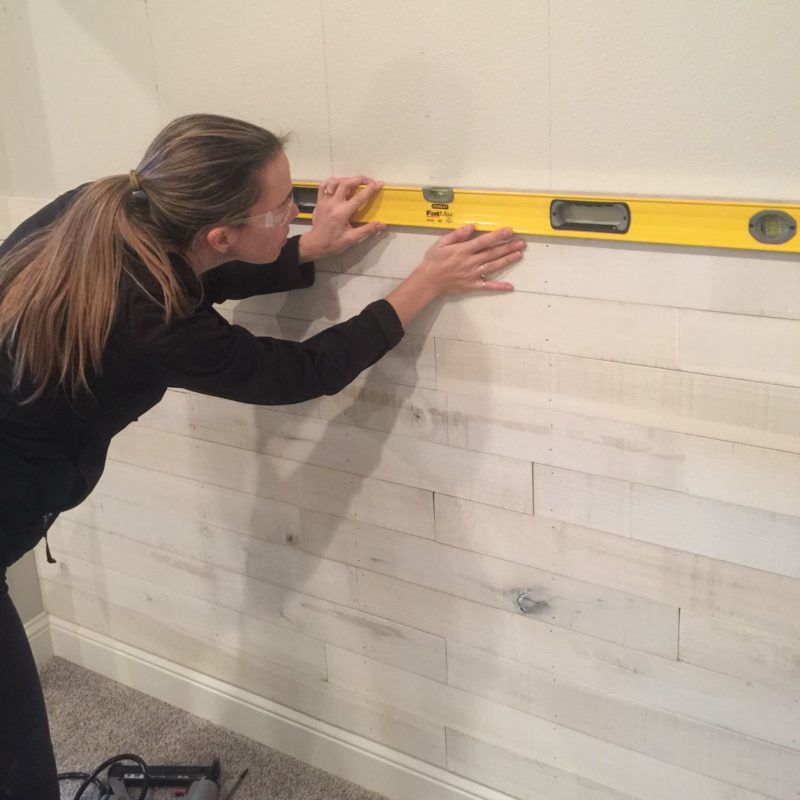
We used a stud finder, pencil and level to mark our studs before nailing the boards. This was to ensure safety of not hitting wires behind the drywall and to make sure our boards were secure. Before I started, I planned out somewhat of a pattern with my boards, so the wall would have a staggered effect.
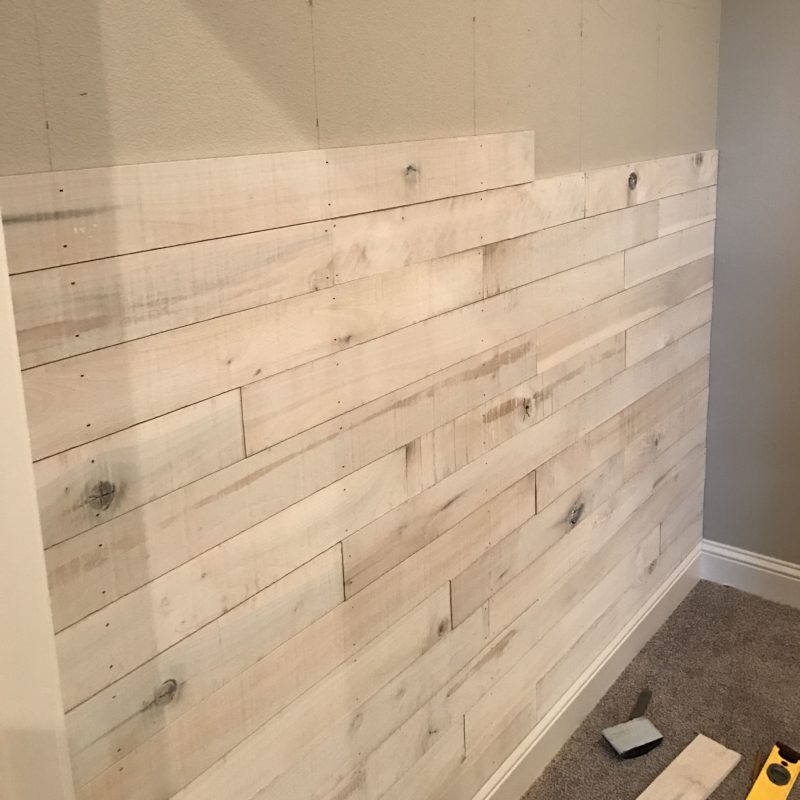
After every board I nailed, I checked to make sure the boards were level to keep everything looking proportional. For this project, I used 2-inch nails in my nail gun.
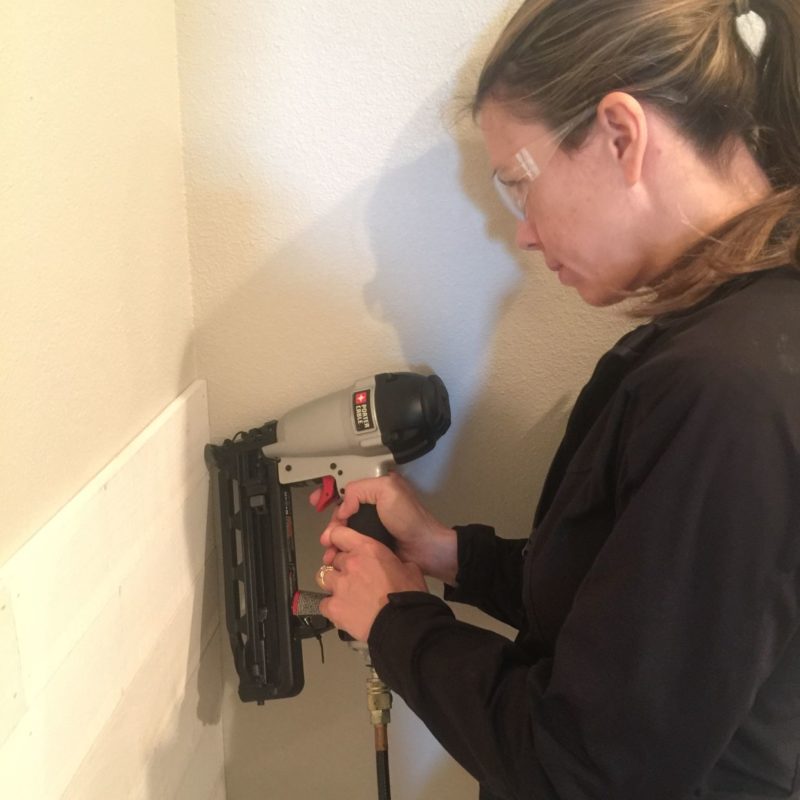
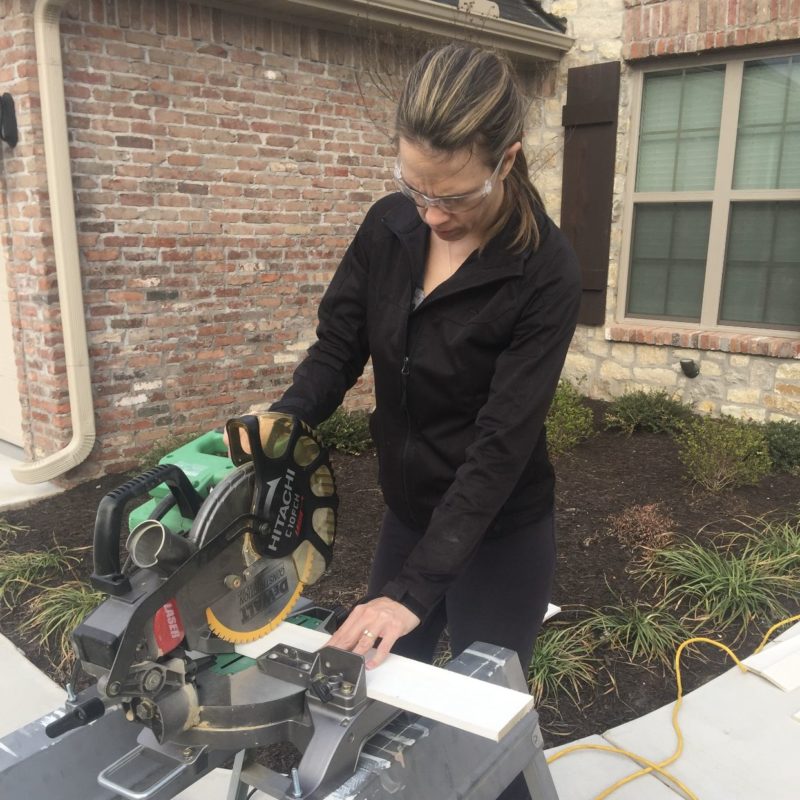
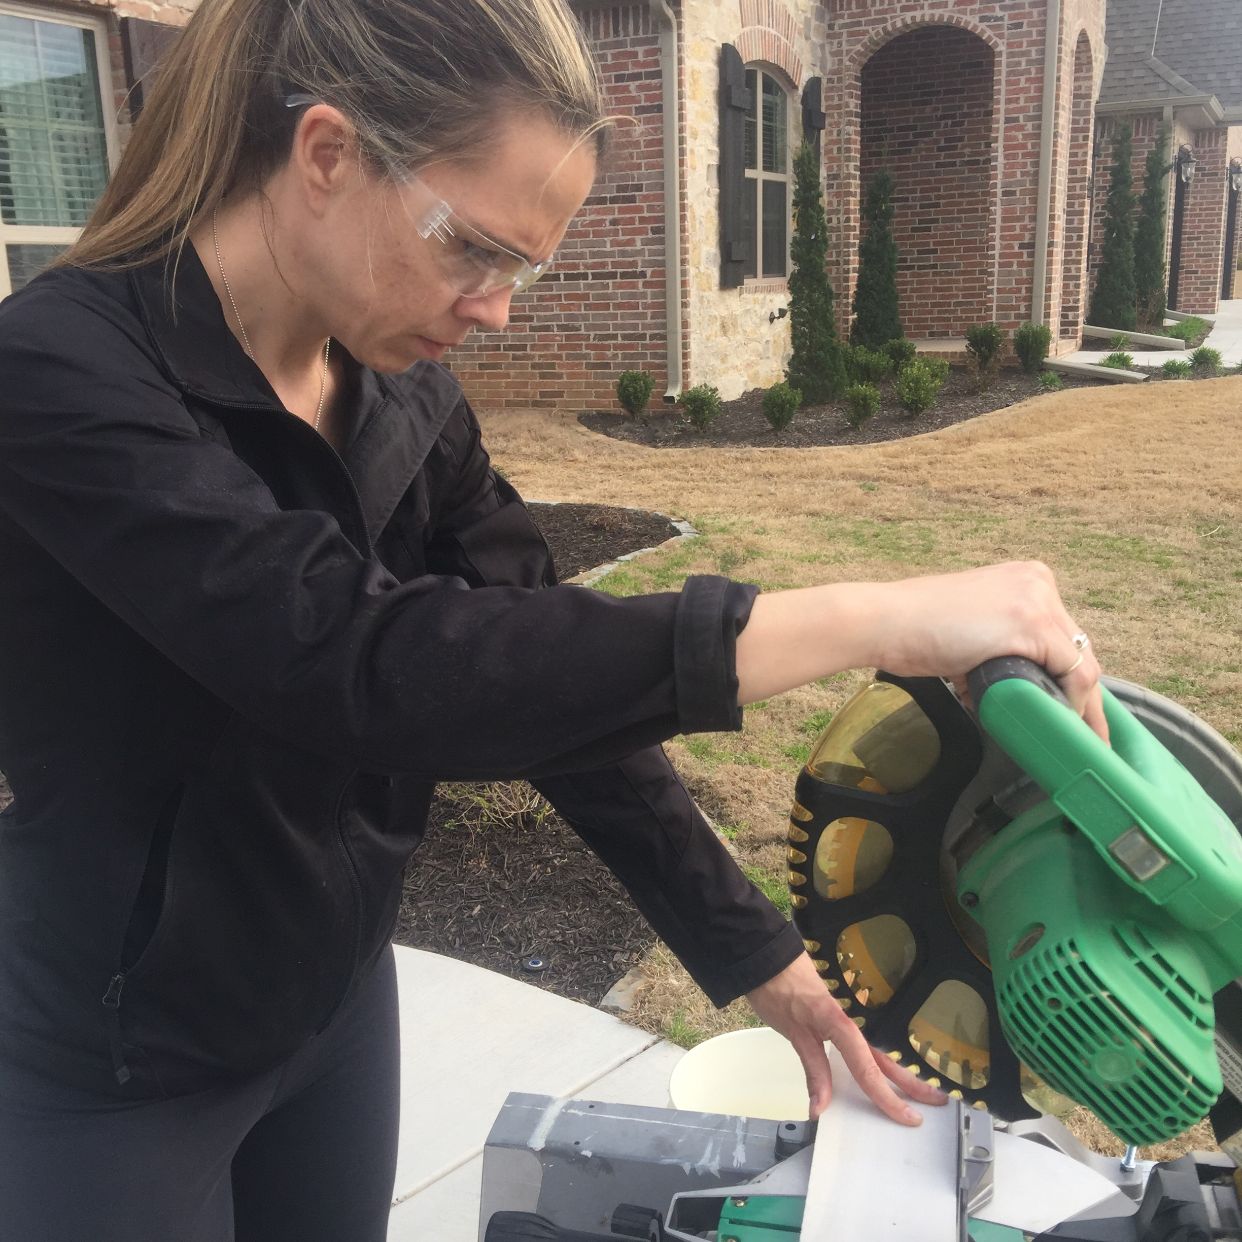
Safety first! This was my first time using a compound miter saw. It was a lot of fun and easy to use! Before I started my project, I trimmed both ends of every board to make sure they were square.
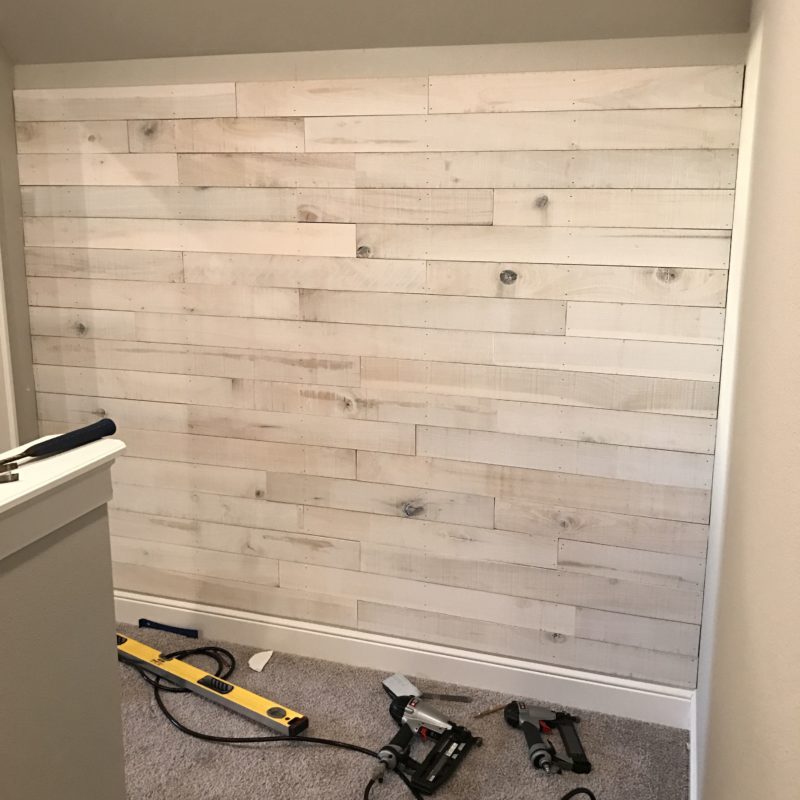
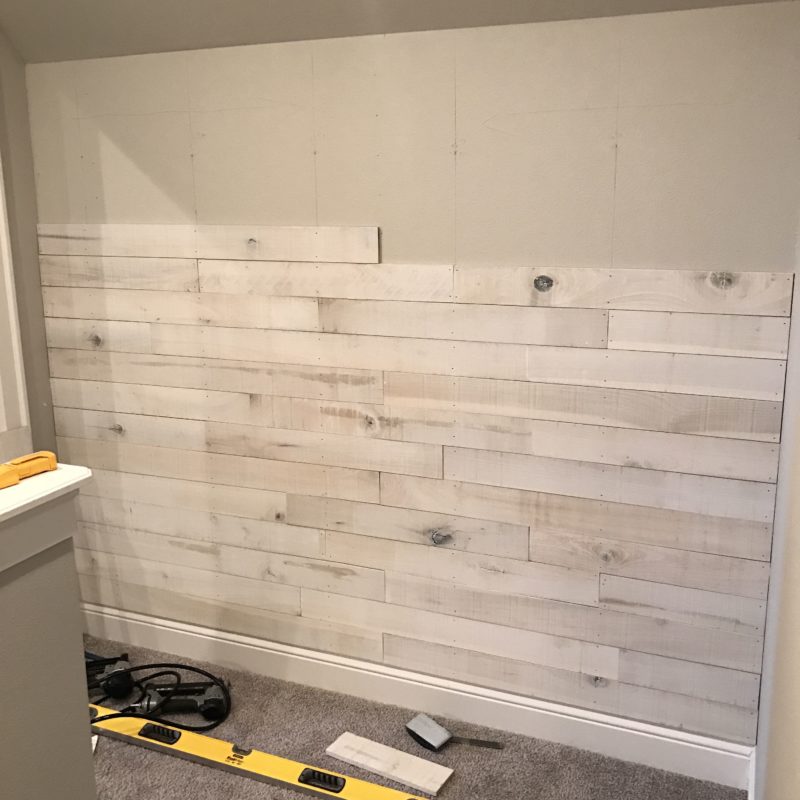
Due to the 45 degree angled wall, our last board had to be cut and angled to fit snug against where the wall and ceiling meet. We had to use a circular saw with a track to ensure a straight cut.
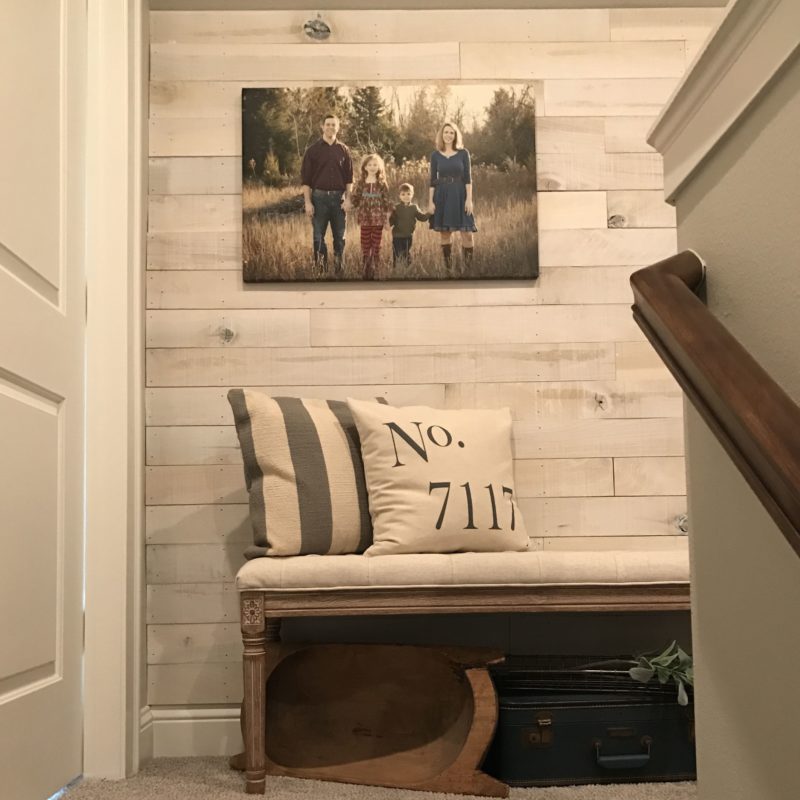
Now to decorate the completed wall! I knew I wanted to incorporate some dimension by adding a shelf and these canvas photos of our family to create a small gallery wall.
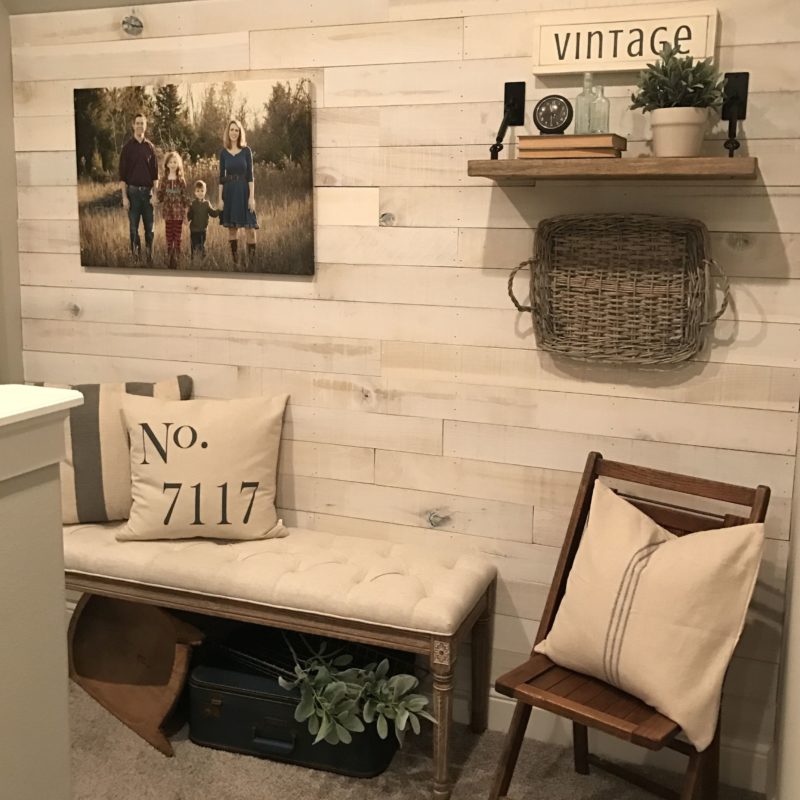
There’s enough clearance at the top of our stairs and hallway to allow for a bench and decor pieces. If you’ve been following me for awhile, you know I shop my house and re-purpose my home decor, even pieces I’ve had for years have been known to get a facelift. I enjoy the process of tweaking, adjusting and furniture arranging to get the look just right!
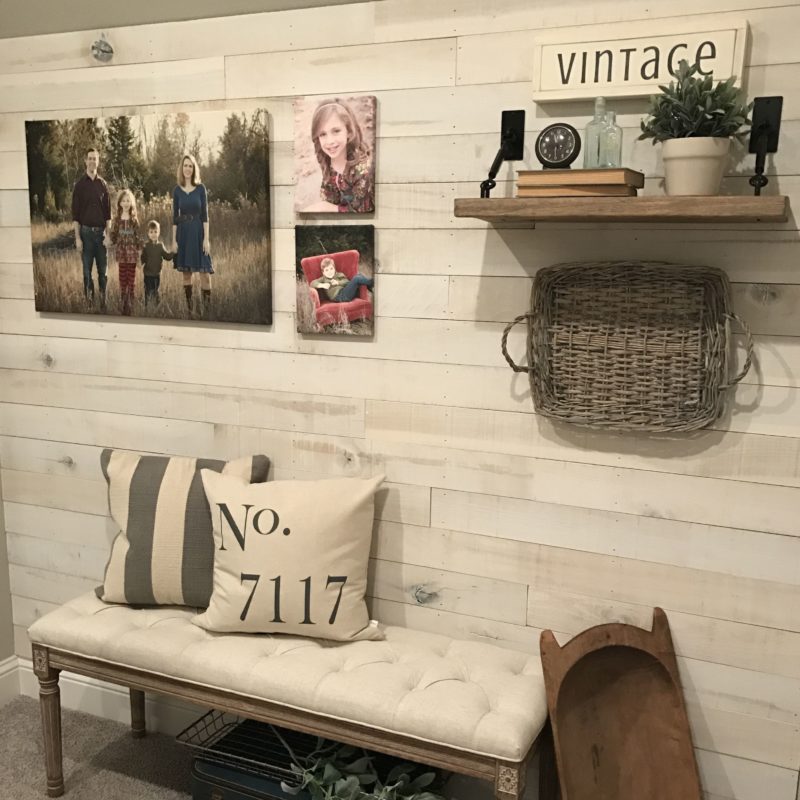
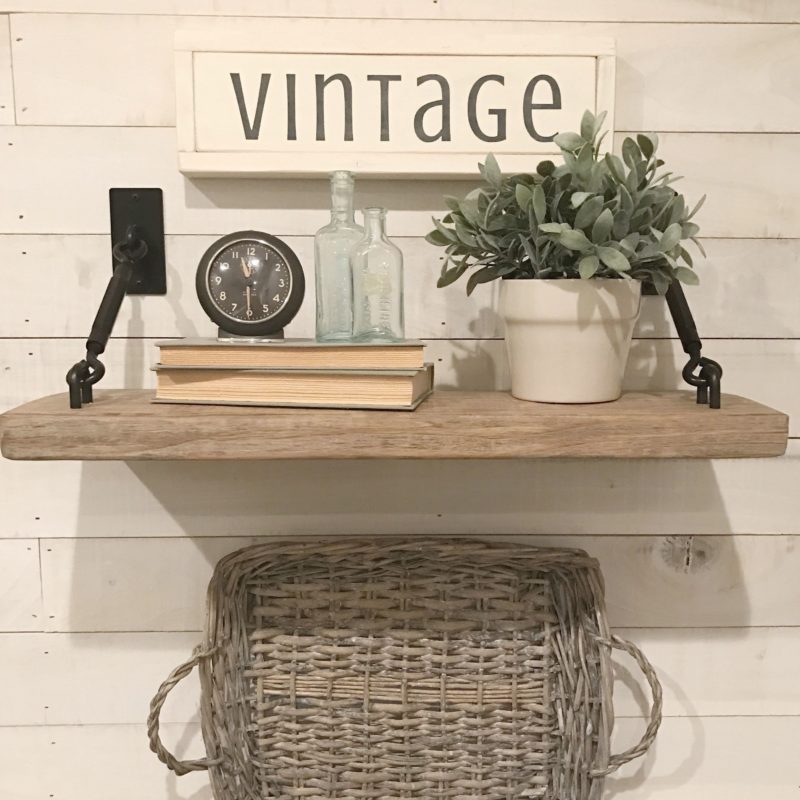
This natural stained rustic shelf from Rustic Shelves and this unique turn buckle hardware from Shelfology add that extra rustic touch I had envisioned. I love that it allowed me to add a few vintage pieces to our upstairs.
Here’s our view coming up the stairs. Pardon the poor lighting, but this gives you an idea of where the wall is in relation to the stairs and hallway.
I hope you enjoyed how to create an accent wall using white washed boards. It was a fun project and I love the character it adds to our upstairs. Wishing you all a great weekend!
Blessings,
![]()
I acknowledge that Weaber Lumber is partnering with me. As a part of this partnership, I am receiving compensation in the form of products and services, for the purpose of promoting Weaber Lumber. All opinions stated above are my own and my experience with the brand and its products.
This turned out so good!! I love it.
Thanks so much, Sarah! Hope you’re doing well! Hugs! xxx
Such a great tutorial. Completely transforms the space. How you styled it really elevated the space to the next level. I especially love your touch of greens with that faux succulent. Great Post!
Thanks, Jessica! So sweet of you to stop by and leave such a kind comment! Have a great evening and Happy Memorial Day!
Beautiful😍
Thanks so much!
This turned out Great! Love all the details added. Pinning!
Thanks so much, Trena!
Oh my gosh . I’m in love.
Thanks so much! Appreciate your sweet words!
Love your design. Thus is style that comforts me. BEAUTIFUL
Thanks so much, Linda! That’s very kind of you to say!
This is GORGEOUS! Well done chica…
Thank you, Tana! Hope you’re doing well! xoxo
Love this wall. I’m wanting to do something like this in my washroom. Is it available yet? I went to look for it online at Home Depot and I’m not seeing it.
Hi Alicia. I found the wall boards on Home Depot’s website!!! I’m pretty sure this is what I want to do. Thanks for sharing!!
You’re welcome! Glad the information was helpful! 👍🏻
Thanks! You’ll have to contact HomeDepot directly and ask them when the whitewash boards will be available. This was a partnership with the brand to review the product. We love it!
Hi! Can you tell me where you got the flat basket? I wanted to do something similar on my wall but I can’t find anything that doesn’t stick out to far.
Thanks!
It came in a set of three. Unfortunately, I don’t remember where I purchased them, it’s been several years ago.
It came as a set of three and unfortunately I don’t remember… Sorry.
Hi Jocelyn… The set of three wall baskets were found on clearance at a local furniture store. If I find any that are similar, I’ll be sure to link them on my Instagram account on my liketoknowit page. Thanks for your interest!
The links are not working!😭
Hi MC… My apologies that the links are not working. I will look into this. Is there something specific you wanted to know? I’m happy to help any way I can!
Looks great! Did you fill the nail holes after you put up the boards? If so, what did you do to match the white wash finish on the boards?
Thanks! I actually never patched the holes after we installed the white washed boards. At the time, I liked the rustic look of them not filled. Also, since this post is a few years old, thought you should know I recently removed the white washed boards and replaced with vertical shiplap. I like it much better!