Special thanks to my friends at Shelfology for working with me on this custom pantry remodel.
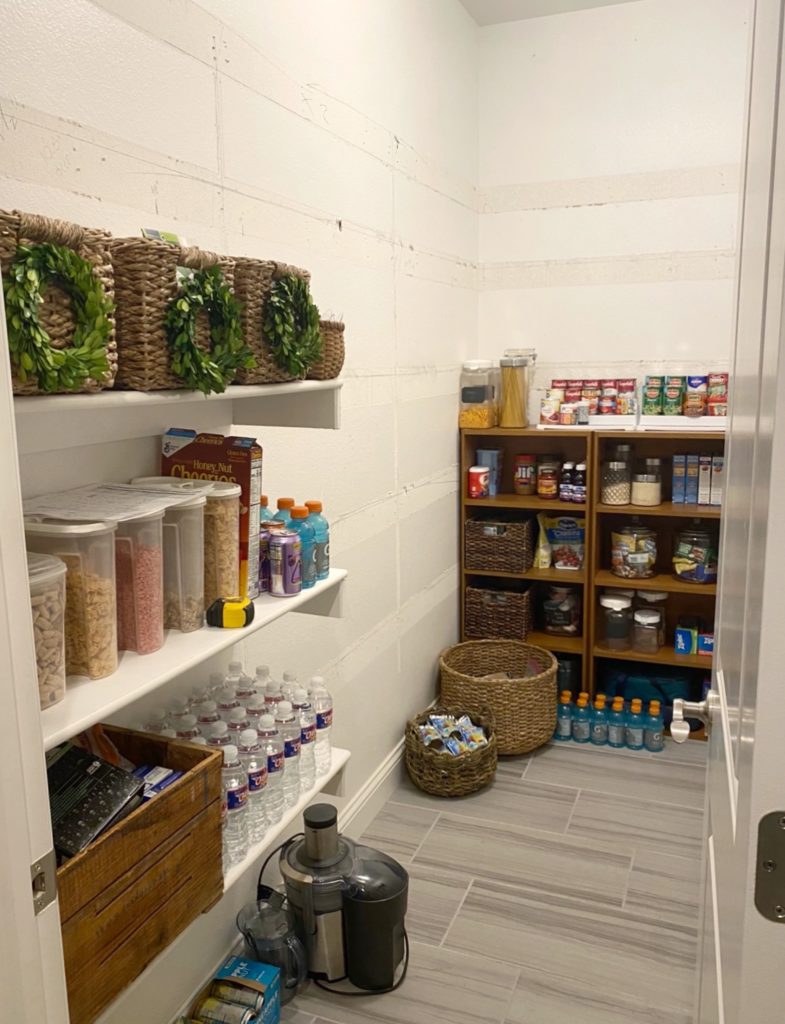
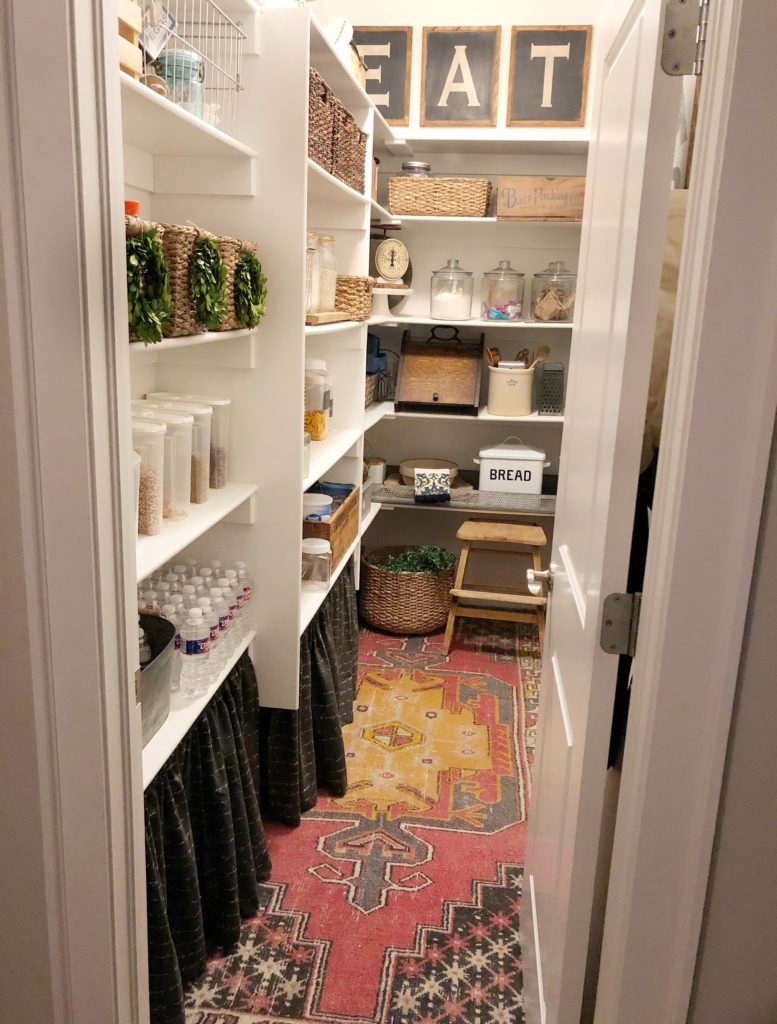
In May of 2021, I had a vision to create a beautiful and more functional walk-in pantry. When I decided to demo our 9′ by 4′ pantry, I honestly had no plan, but I knew I had to start with a clean slate. Sharing the before, during and after would require numerous photos. If you’d like to see the process, I’ve shared and saved those details on my Instagram feed @ourvintagenest under “Shelfology.” There, I share the installation process, design tips, and details on choices we made. I hope you’ll check it out and find it helpful! Let’s take a look at the before!
BEFORE:
Don’t get me wrong, we love and enjoyed the before, but after 5 years of wear, the shelves were bowing and starting to show their age.
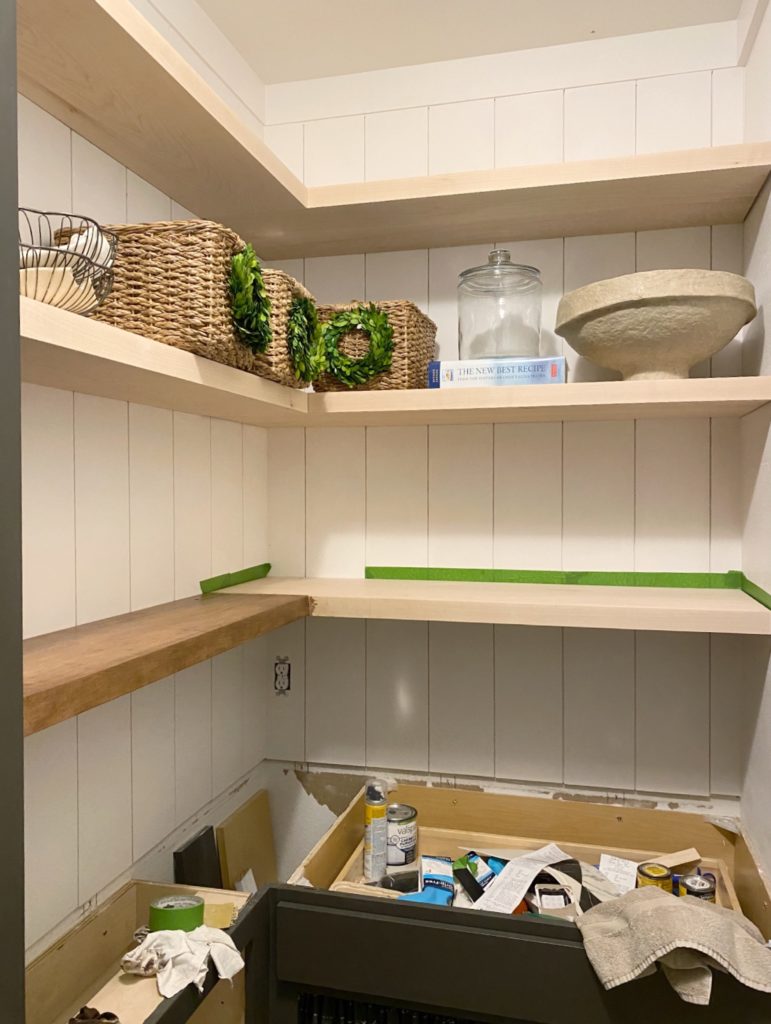
 Now, with a clean slate, I knew I wanted to incorporate a cabinet or two, floating shelves above and hidden storage for all the unsightly things you need in a pantry. Melissa at Shelfology was so wonderful during the brainstorming process. We had numerous phone calls, Facetime chats and she gave great advice on what would be the best plan. It seemed to take months before I could commit to size, type of wood and to stain or not stain. Because the cabinets are made of maple, I decided to go with a natural maple floating shelf. Shelfology calls this style Aksel and let me tell you, their quality and craftsmanship is outstanding! Here’s one of many photos taken during the installation and staining process.
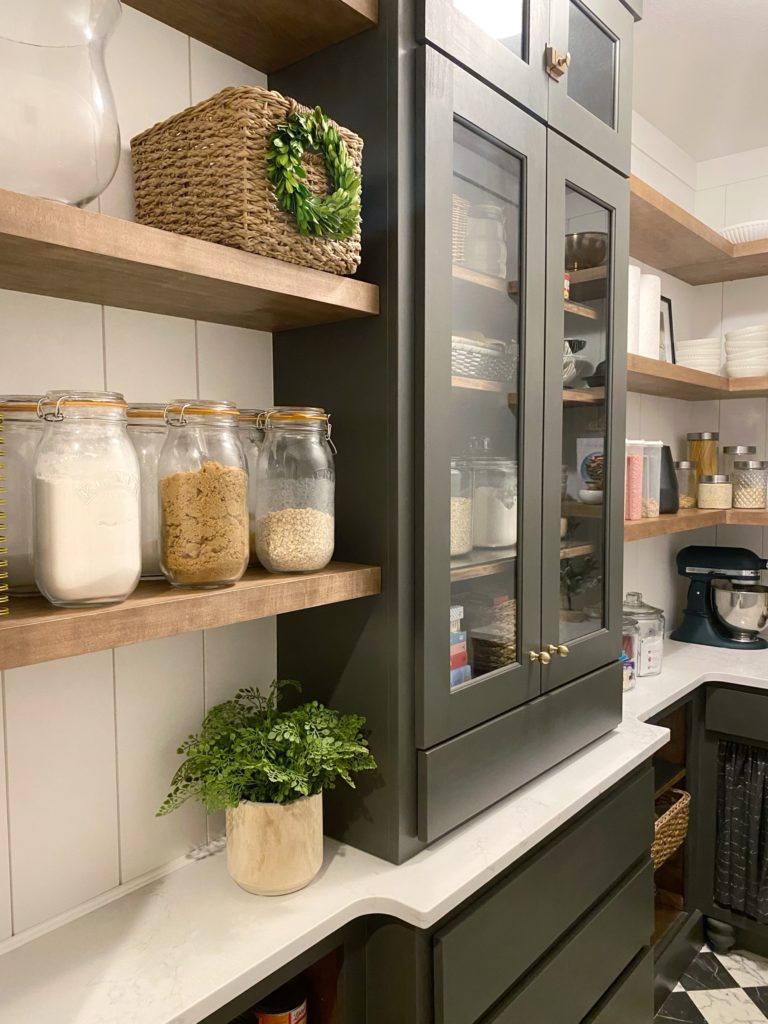
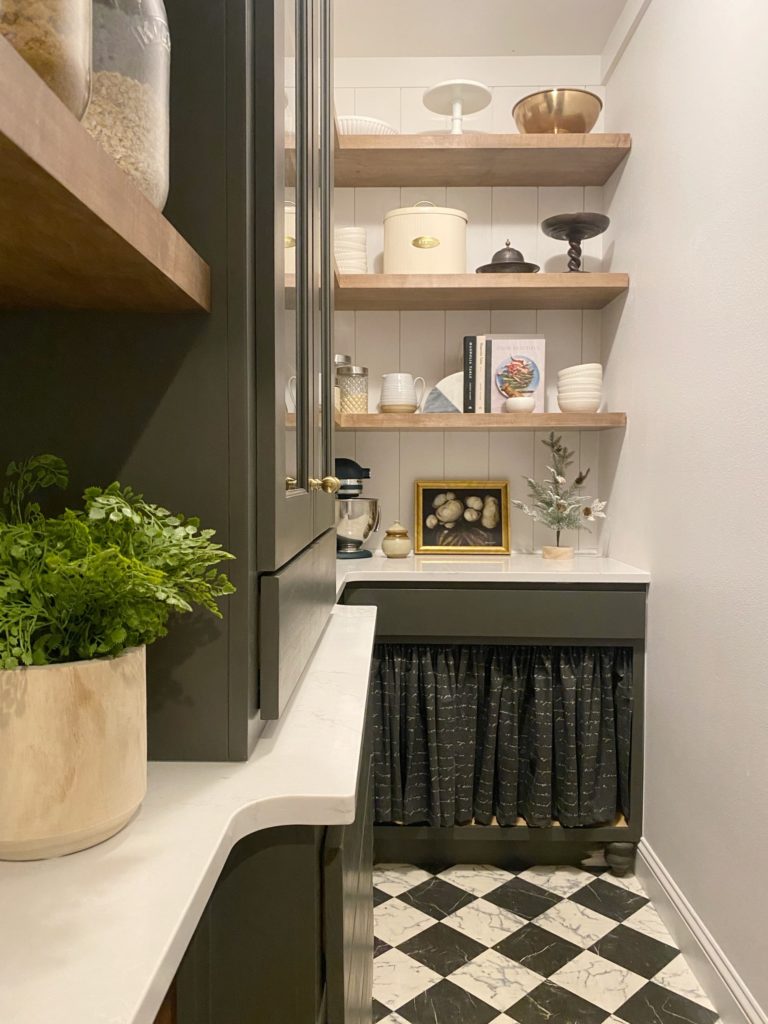
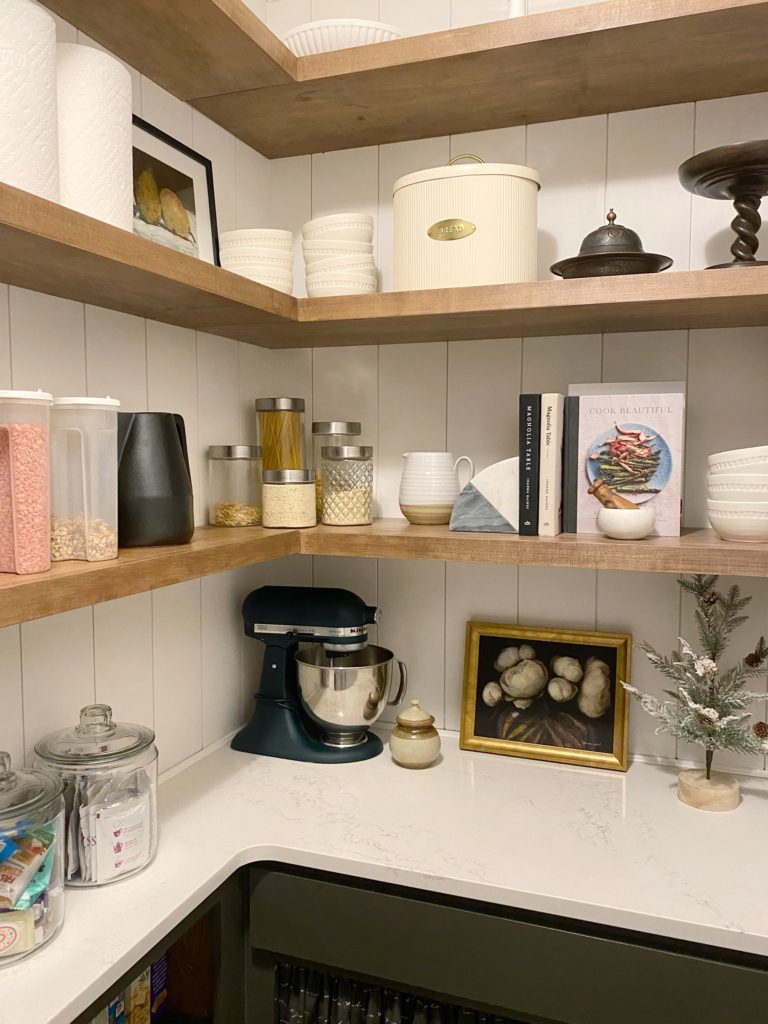
You may be wondering why I didn’t stain the shelves before installing. Well, I originally thought I would leave them natural and apply a clear coat. Funny thing about design, sometimes the ideas don’t come until later and can result in challenging DIY projects. If I’ve learned anything during this renovation, it’s to trust your gut and go for it! I’m so glad I decided to stain the floating shelves; what a difference it makes! I used a gel stain by Minwax in the color walnut. It was just what this pantry needed to compliment the painted hutch and lower cabinets. I love the vertical shiplap I installed before adding the shelves. It adds the perfect amount of texture and dimension to the back wall. If you’ve been following this 7 month journey on my Instagram feed, I thank you for your patience during the process! Now, it’s time to share the gorgeous after of this custom pantry reveal!
AFTER:
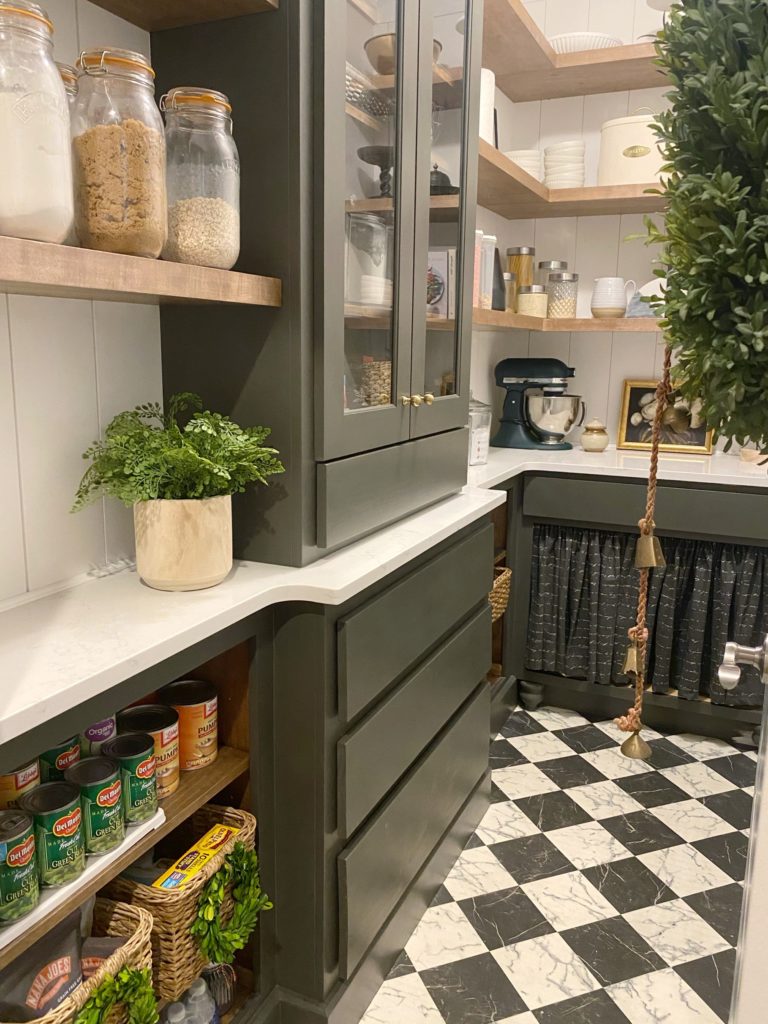
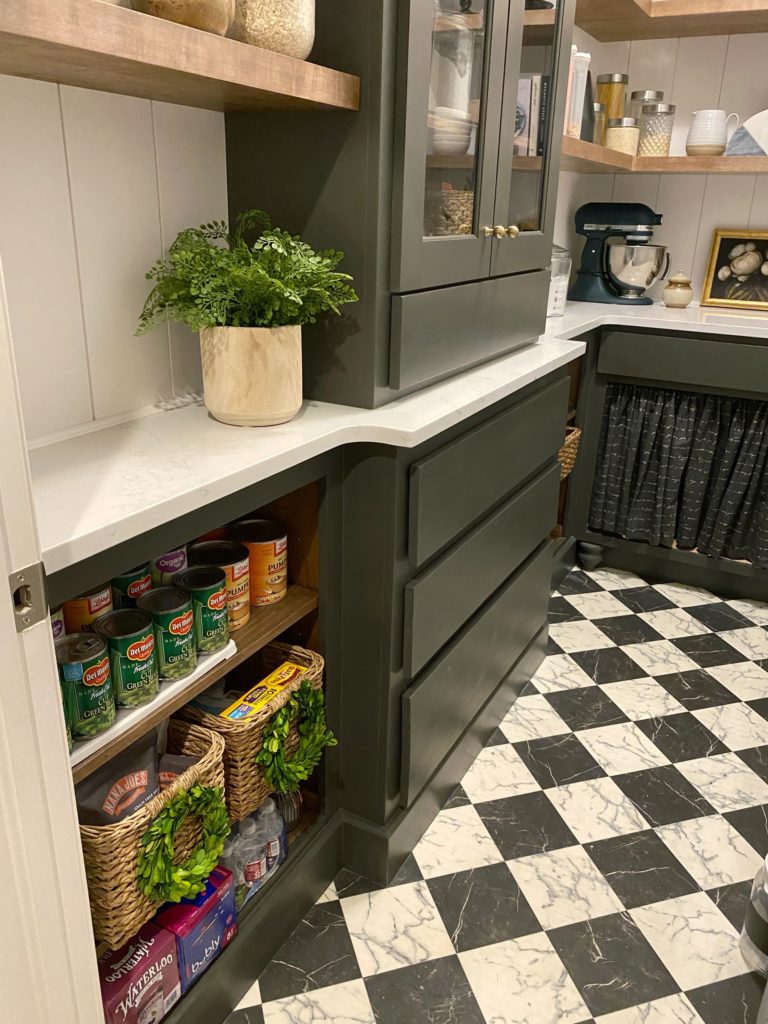
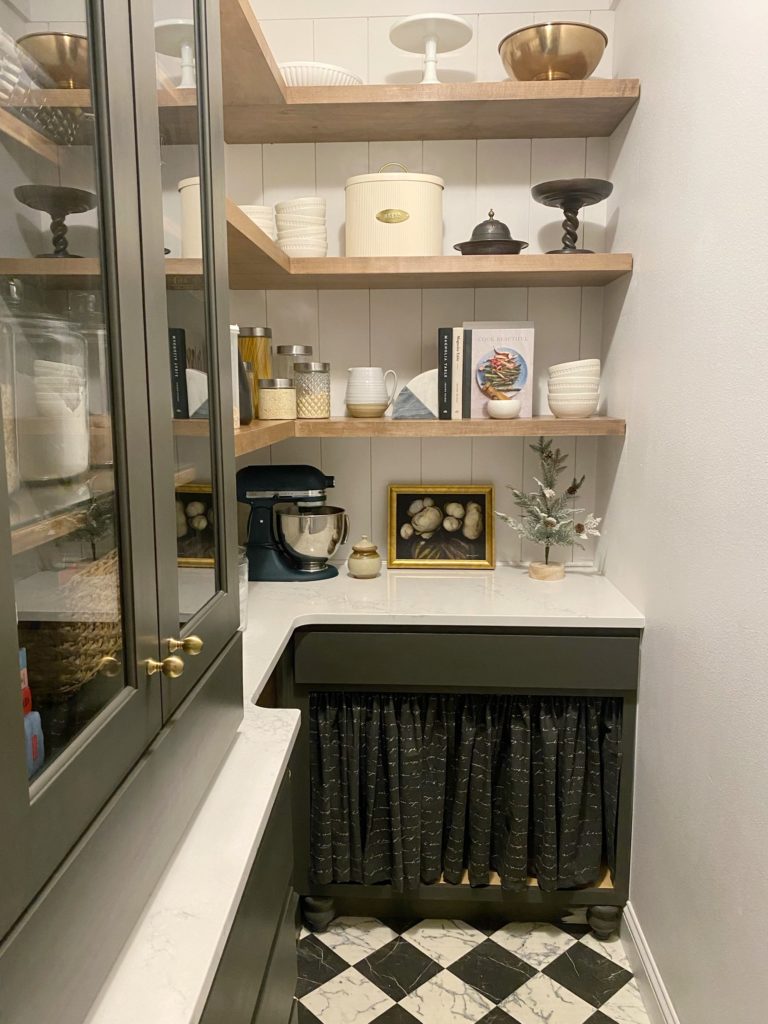
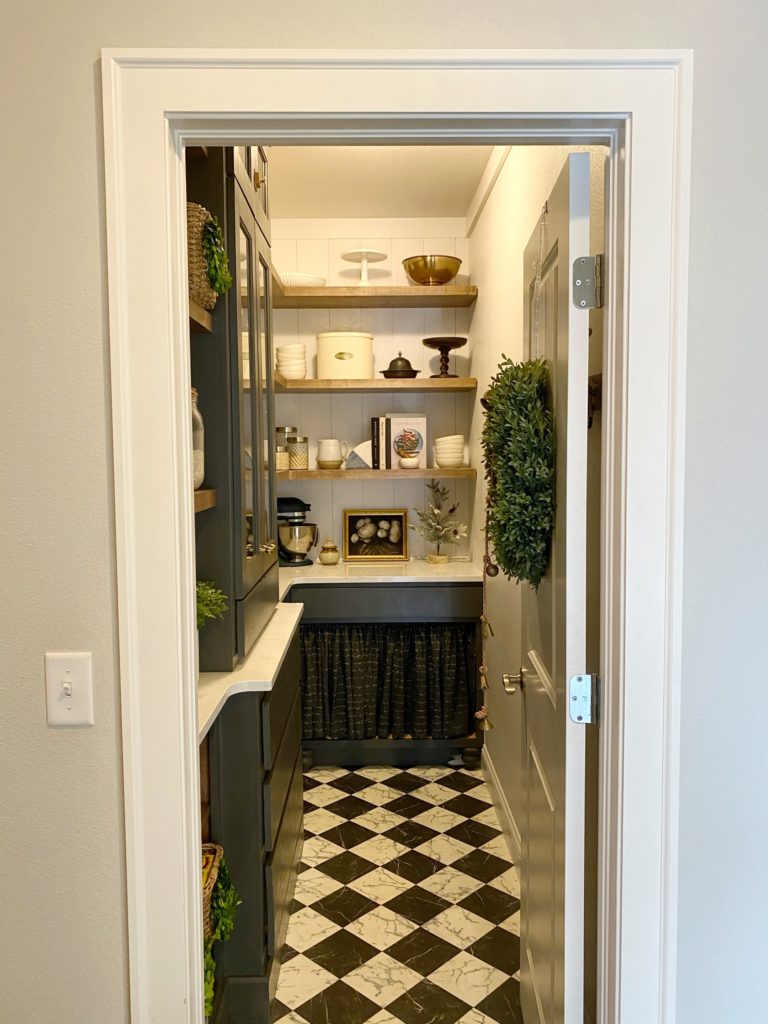
I used vinyl sheeting I found at Lowe’s to cover the existing tile floors. The process was easy and made a huge impact! I love the harlequin pattern and decided to use the leftover materials to line my cabinets in the kitchen.
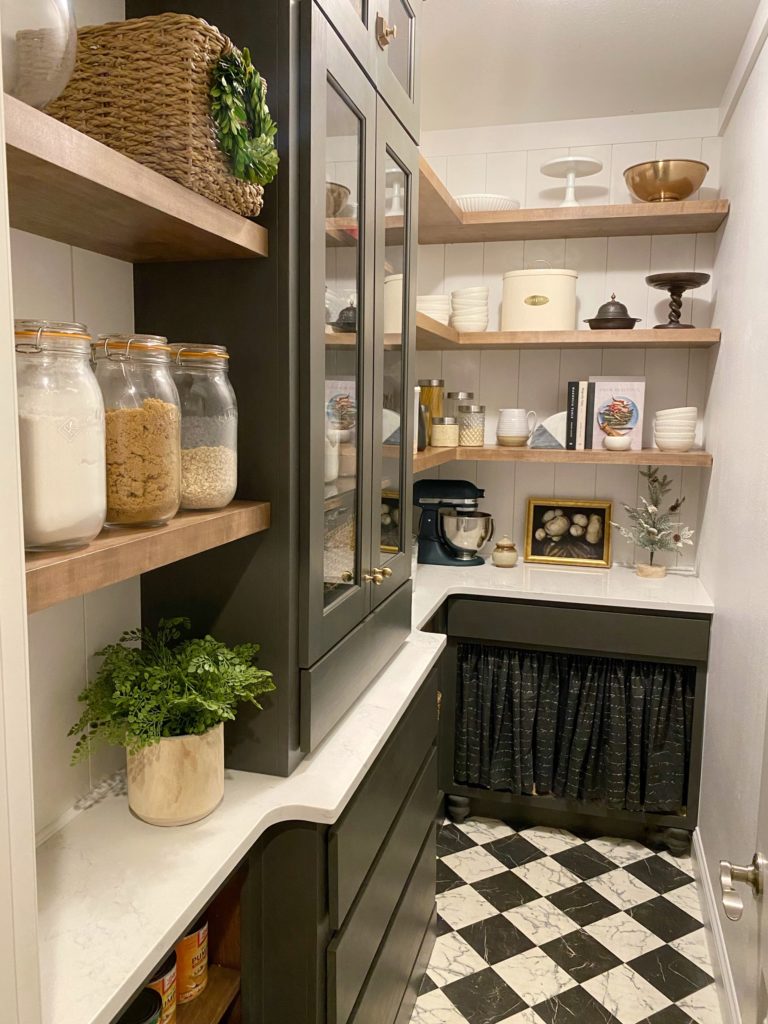
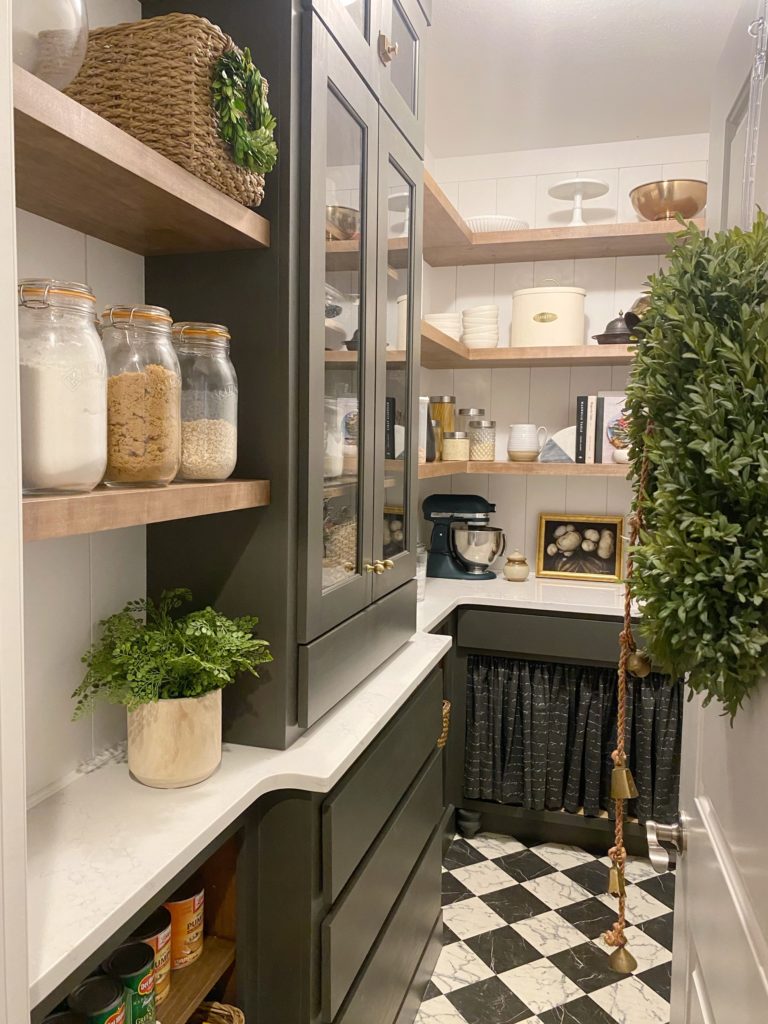
I decided to carry the walnut stain down to the lower shelves to help preserve them longer. Painting them would’ve resulted in wear and tear with daily use. I’m glad I thought to do this now rather than later.
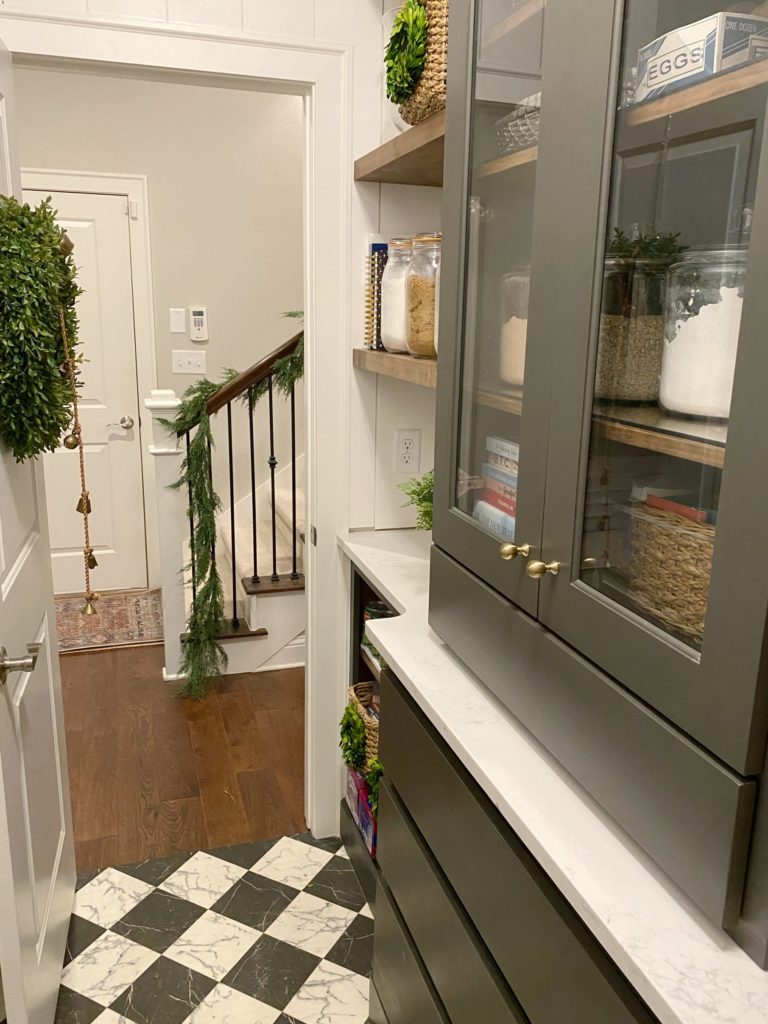
The custom hutch is my favorite piece in the pantry. It helps to separate the floating shelves on the left and provides a nice semi-symmetrical feel as you walk in. I painted the hutch and lower built-ins Urbane Bronze in a satin finish by Sherwin Williams.
Due to the pandemic and product shortages, the cabinet hardware I chose is on backorder until Spring 2022. My plan is to add 12″ bar pulls to the lower hutch and cabinet drawer. The lower cabinets below the hutch will have 3.75″ cup pulls or a 5-7″ bar pull, I haven’t decided yet.
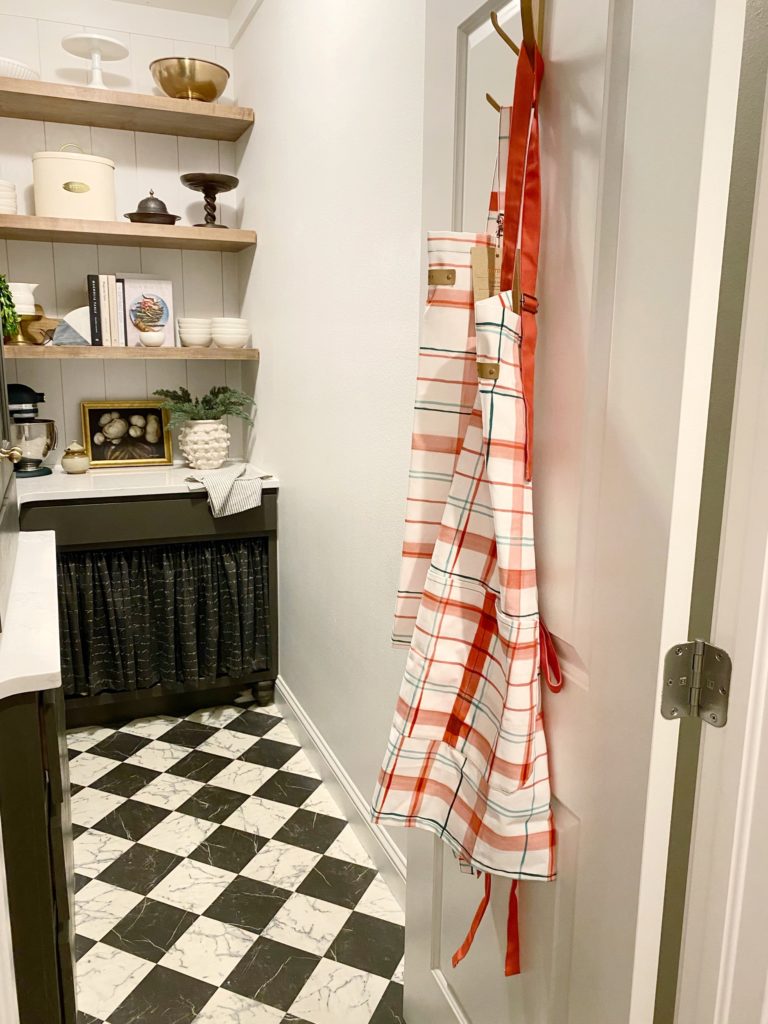
So, what do you think? We are over the moon that it is finally complete! This custom pantry reveal was truly a labor of love! I’m incredibly thankful to the team at Shelfology for helping to make this happen and trusting me to represent their amazing products! If you have any questions, please don’t hesitate to ask and again, thank you for your patience during the process! Please enjoy these extra views of our walk-in pantry!
Blessings,
Leave a Reply